Welcome to another Tutorial Tuesday! Today I’m going to show you how to make a blog image using Gimp.
Gimp is a design program similar to PhotoShop but a little less user-friendly and a lot more free (as in completely free).
Welcome to another Tutorial Tuesday! Today I’m going to show you how to make a blog image using Gimp.
Gimp is a design program similar to PhotoShop but a little less user-friendly and a lot more free (as in completely free). Gimp’s a little less intuitive to use compared to options like Canva simply because it actually has a huge range of functions for most types of graphic design-- it just takes a little bit more know-how to get around than some freemium programs.
If you put in the work to learn Gimp, you’ll have more control over the images you create.
You can download a copy of Gimp here: http://www.gimp.org/downloads/
As a quick note, there’s no autosave in Gimp, so save your image via the toolbar or “ctrl+s” often. If there’s a power surge or something and you have to re-do all of your work, you will be VERY sad.
Let’s get started!
Step 1: Open up Gimp
When you open Gimp, it should look something like this:
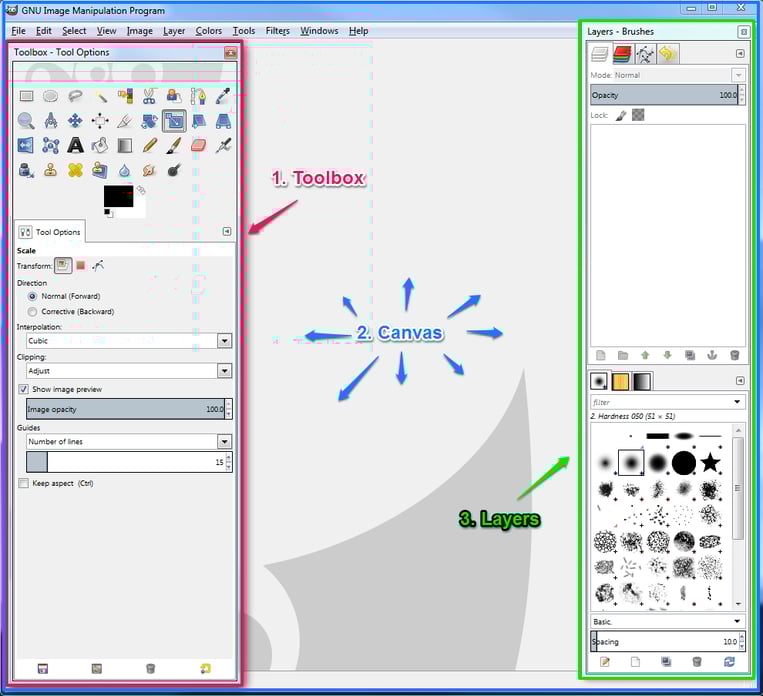
Note that you have three windows here:
- Toolbox -- This is where the most commonly used tools can be accessed easily. This window is your friend.
- Canvas -- This is where your image will open. All of the work you actually do will be done in this window.
- Layers -- This is where you can keep track of what elements and layers you have active on your canvas. We won’t use this window much for this tutorial, but it’s very useful for more complicated projects.
Step 2: Open your background layer
First you need your background image. It’s easiest to save an image to your computer so that you can open it by selecting “File” in the toolbar and then “Open”:
From here you should be able to choose your image from wherever you’ve saved it and hit "Open". I named my image “birds” on account of the birds:

Your background image should open on its own canvas, fit to size:

Step 3: Add text
To add text, you’ll need to access your "Text Tool". You can find your Text Tool in your Toolbox window:
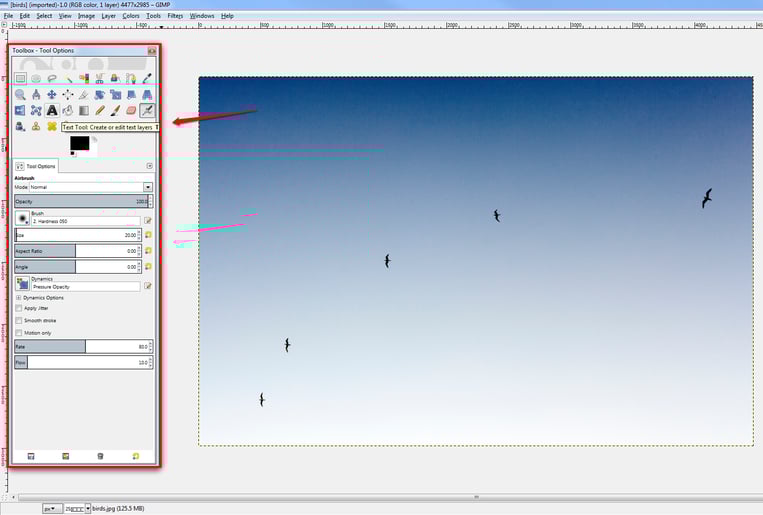
Select it from your Toolbox window like so:

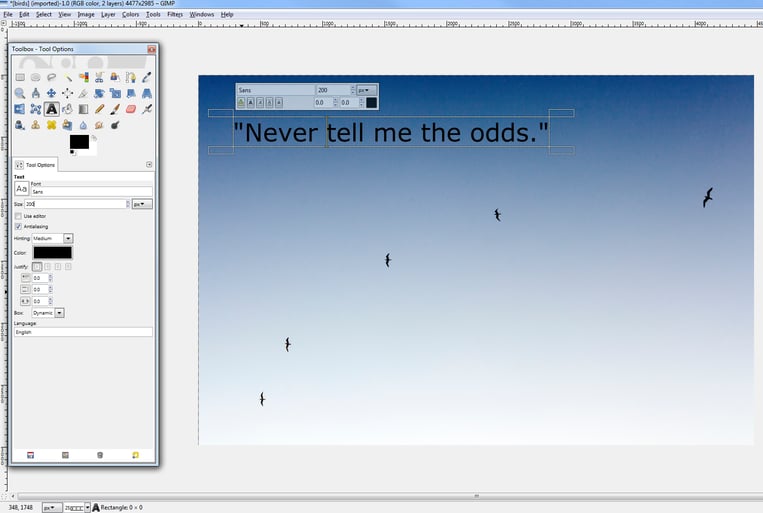
With the Text Tool selected, click pretty much anywhere on your canvas to lay down a text layer. Maybe it’s just me, but mine always shows up very tiny on my canvas. No matter! Go ahead and type your text, even though it’s text for ants. Don’t worry about typos-- you can fix those later.
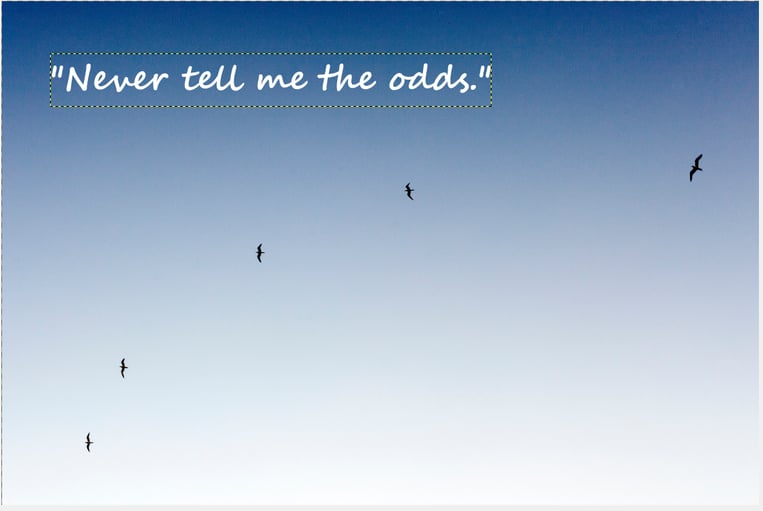
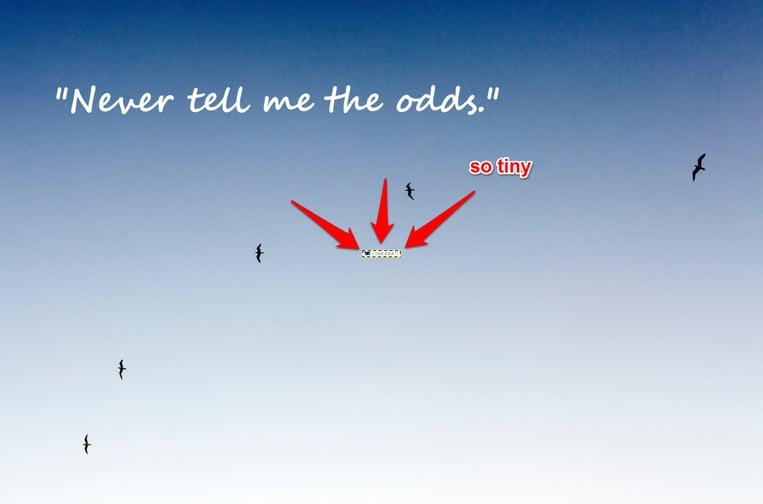
You can’t see it properly yet, but I chose a Han Solo quote for this tutorial because I’m left unsupervised for long stretches:

Note: You might notice a helpful floating toolbar that appears above your text box at this point:
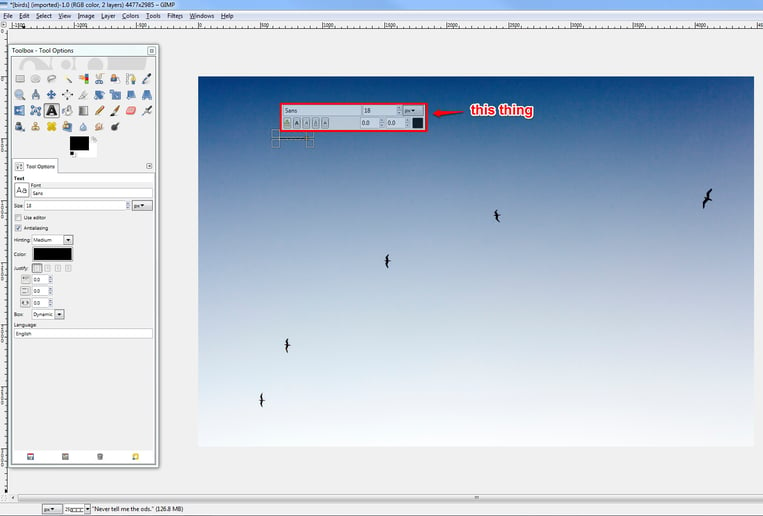
It would be overly dramatic to say that it’s a trap and isn’t helpful at all. But I will say that I’ve had, at best, varying success with changes made in this toolbar consistently taking effect on the canvas.
With that in mind, I’d suggest working out of your Toolbox window instead, as I’ve done in this tutorial. Or give it a try and tell me what I’ve been doing wrong. You do you.
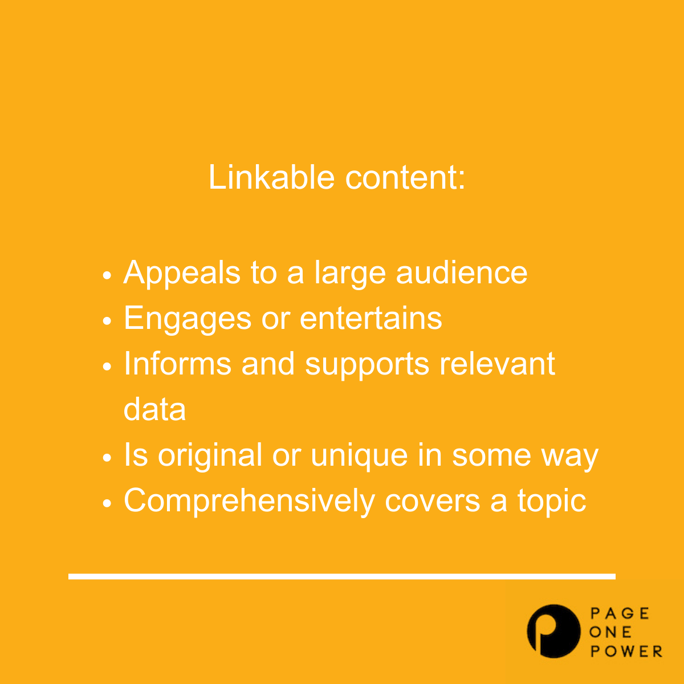
Creating great images is only half of the content marketing equation. You also need to promote that content to ensure it shows up in search. Download our free checklist to learn how!
Step 4: Adjust text
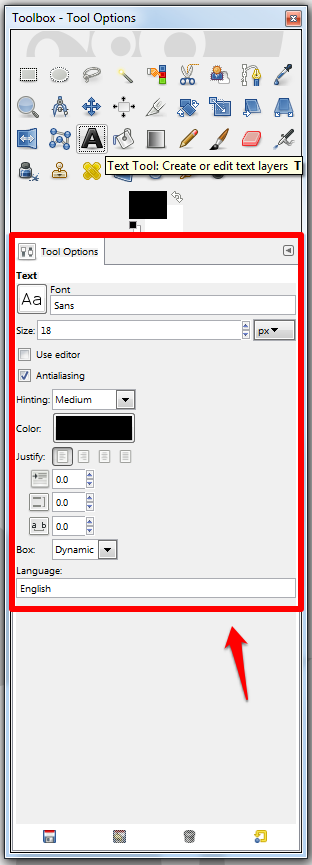
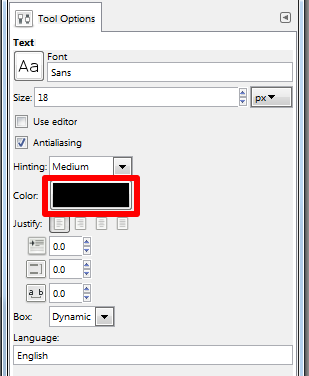
Look to your Toolbox window again. Since your text layer is currently selected, your Toolbox will have now have options for your Text Tool under the “Tool Options” section. This is where you can make adjustments to your text:
There are only three adjustments we’ll mess with right now for your text.
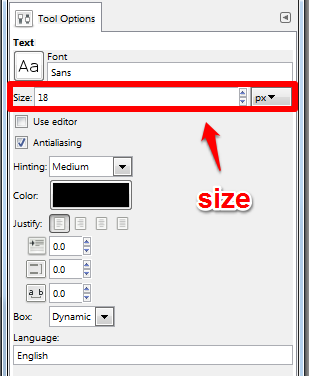
Size:
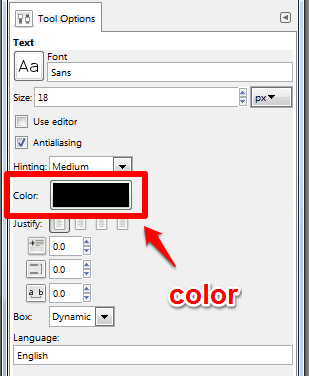
Color:
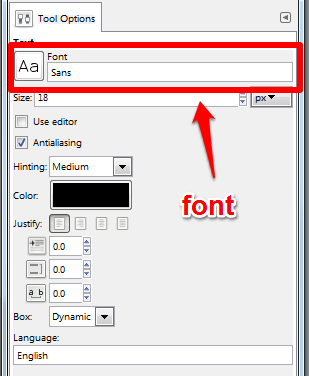
Font:
Step 4a: Adjust text size
First mess with your text size (so we can see the dang thing). In your Toolbox, double click the box beside “Size” to be able to enter a new size value:
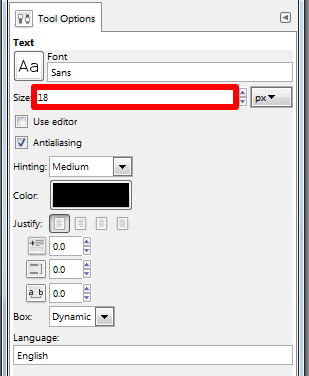
Input a value and hit enter to finally get a good look at your text. I took a shot in the dark and put 200, which ended up looking alright, but you might need to fiddle a bit to get the text the size you like.
Step 4b: Adjust text color
Once your text is a goodly size, you can turn your attention to its color. Again in your Toolbox window, click the box beside “Color”:
A new mini window will pop up with a whole array of things to play with:
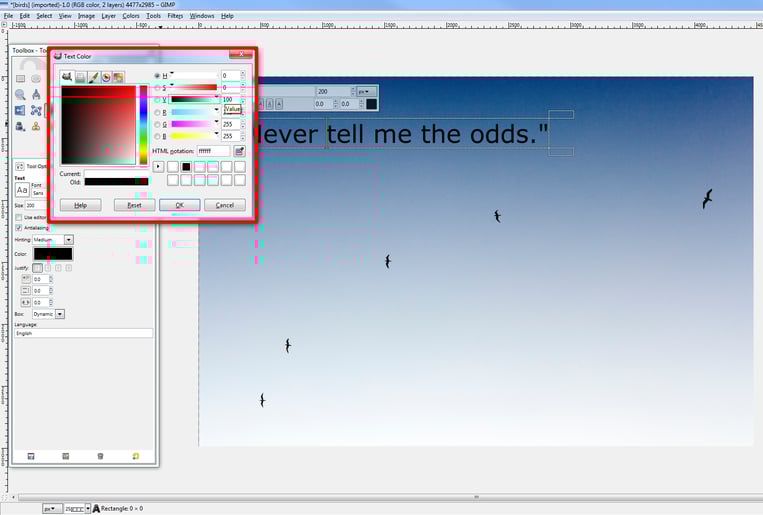
You can either tinker until you find a color you like or look up the HTML notation number for a specific shade you want and enter it in:
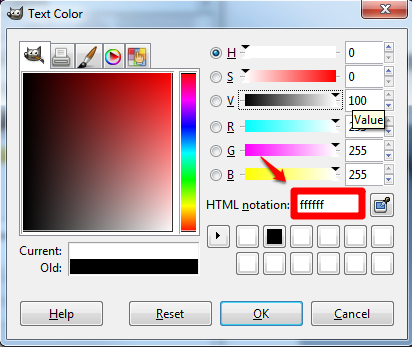
I went for white, or HTML notation #FFFFFF for the cool kids. Once you’re happy with your color, hit “Ok”.
Step 4c: Adjust text font
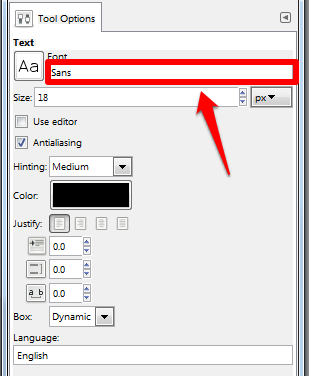
Finally, choose your font. In your Toolbox window, you’ll find a text box with the name of the default text, in this case “Sans”. If you know the name of the font you want, you can type it into that text box:
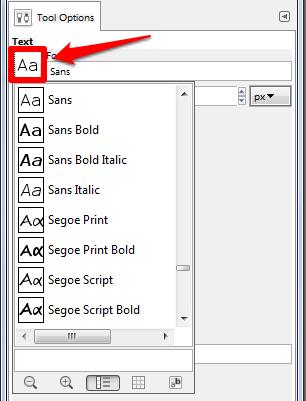
If you want to play around a little with fonts, click the graphical “Aa” and scroll through that drop-down list of font types:
Be advised that Gimp doesn’t have all of the texts in the world pre-loaded into it. There are ways to upload a font into Gimp, but I sure as heck ain’t covering that process here. Try this video walkthrough: https://www.youtube.com/watch?v=MHlCn9vYZXU
I chose “Segoe Script Bold” as my font because it reminded me of a motivational poster:
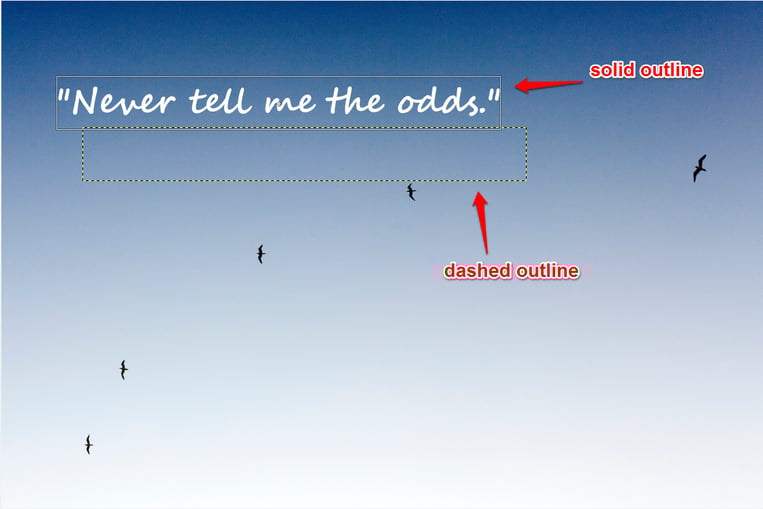
Step 5: Move text layer
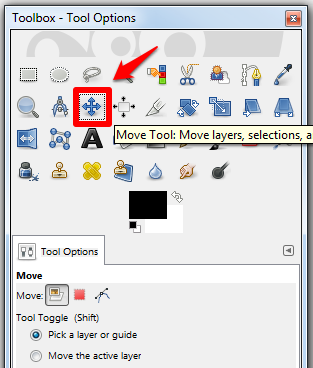
To get your text where you want it, select your “Move Tool” from your Toolbox window. It looks like a little Cartesian coordinate plane:
With the Move Tool selected, grab onto your text box and drag it where you want it to go. It can be a little finicky, so make sure that the dashed border around your text box is solid before dragging or you’ll probably drag your background right off the canvas:
If you’re struggling with this, you can select your text box layer in your Layers window before clicking on it in your canvas:
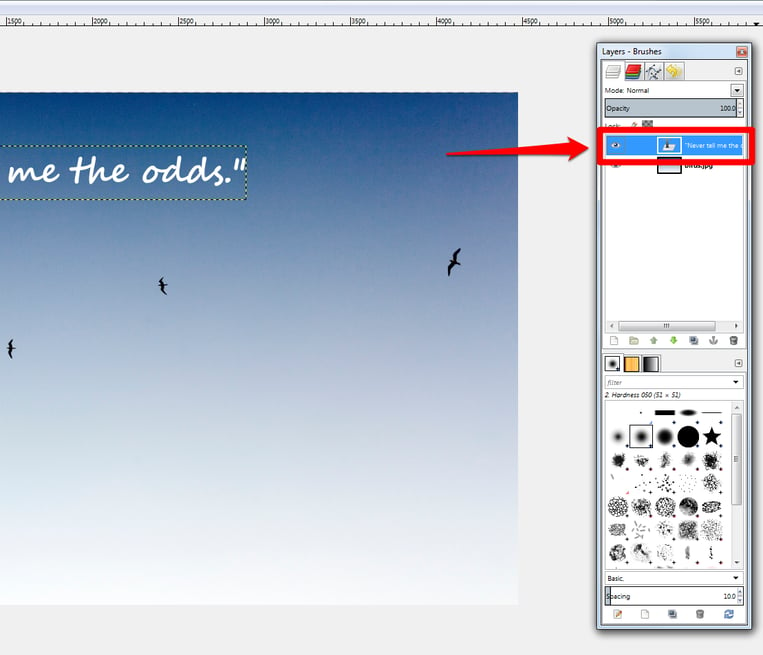
Sometimes that helps.
Step 6: Add image
Now let’s talk about if you’d like to add a graphic, say Linkarati’s logo. Again, it’s easiest if you save your desired graphic to your computer.
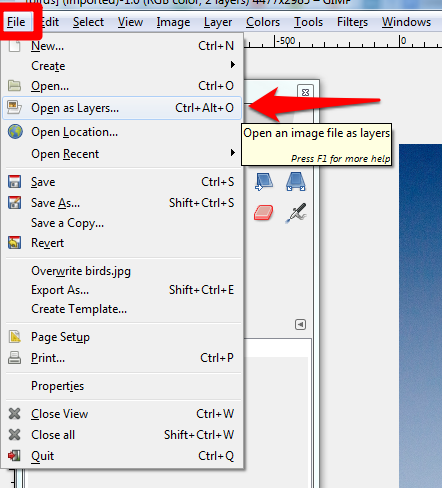
To open it on your canvas, go to your toolbar and select “File” and then “Open as Layers”:
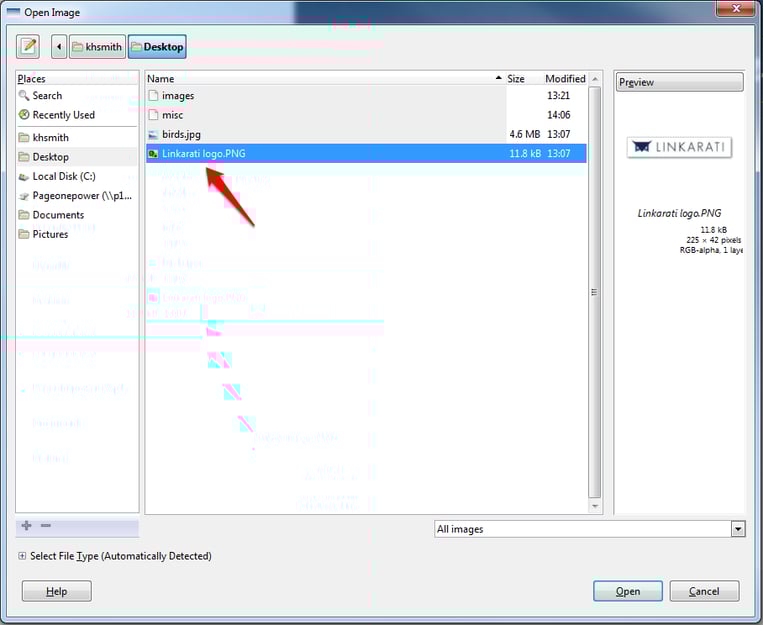
Just like when you opened your background, choose your image from where you saved it on your computer and then hit “Open”:
And just like your text box when you first made it, your image will probably open really, really ridiculously little:
Step 7: Adjust image
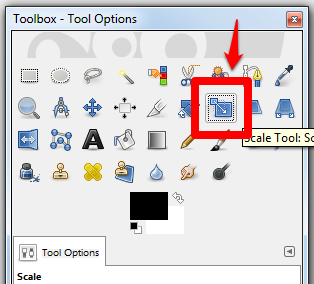
To make this image visible to people larger than Tom Thumb, select your “Scale Tool” from your Toolbox window:
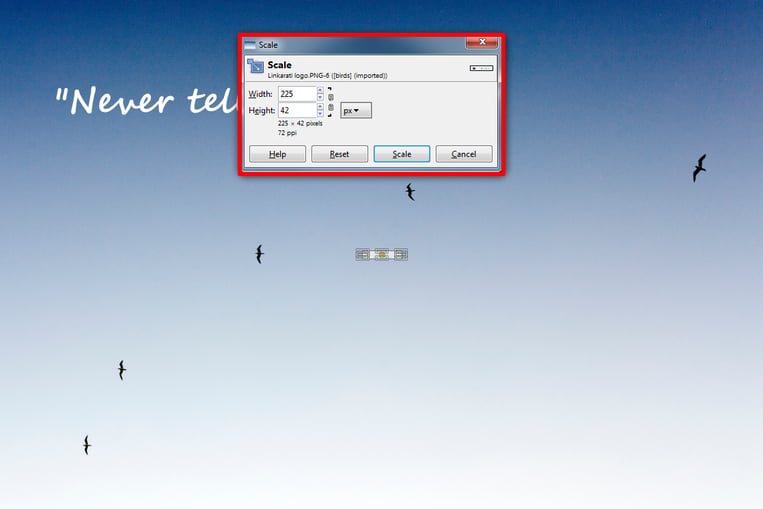
Then click on your tiny little image, which will prompt a pop-up window:
Before you go messing with dimensions, make sure you click this thingamabob here...
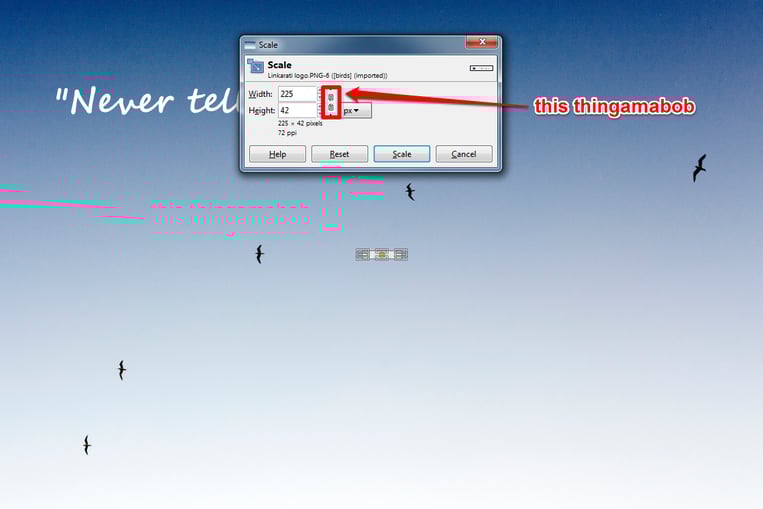
...so that it looks like this:
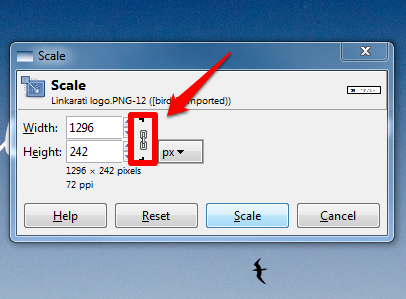
This will lock your dimensions so that you don’t distort your image to some grotesque shadow of its original self.
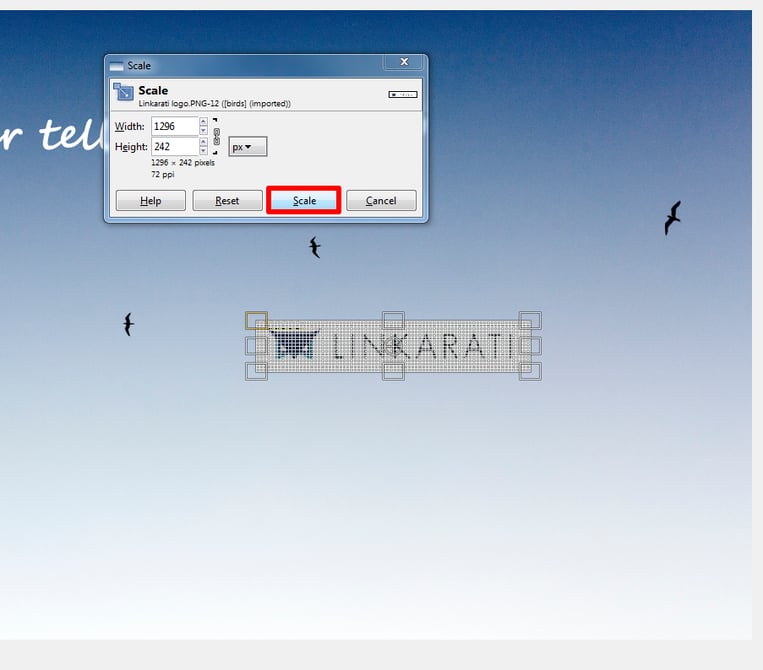
To adjust the scale, bring your cursor to one of the image’s corners and pull until it’s the size you want and then click “Scale”:
To move your image, select your Move Tool again and drag it around just like you did for your text box layer.
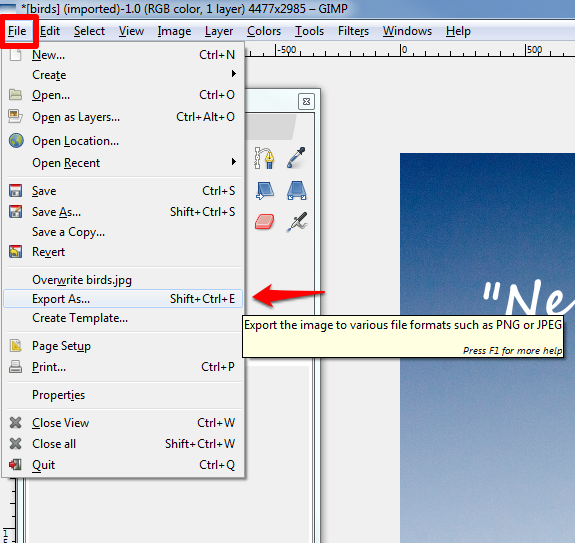
Step 10: "Export As" - Saving the Image as a .jpg
Gimp uses a weird file type by default, .cxf. To save your image as something more common, head to your toolbar and select “Export As”:
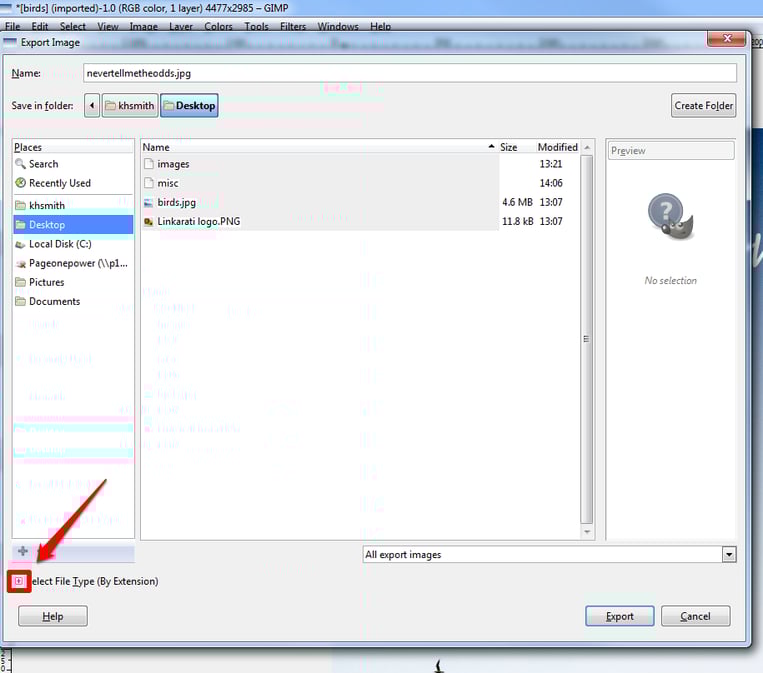
This will prompt a window where you can rename your file and select where it will save to. Most importantly, it will allow you to select what kind of file you’d like to save it as.
To do this, click the little “+” next to “Select File Type”...
...which will drop down into a list of options:
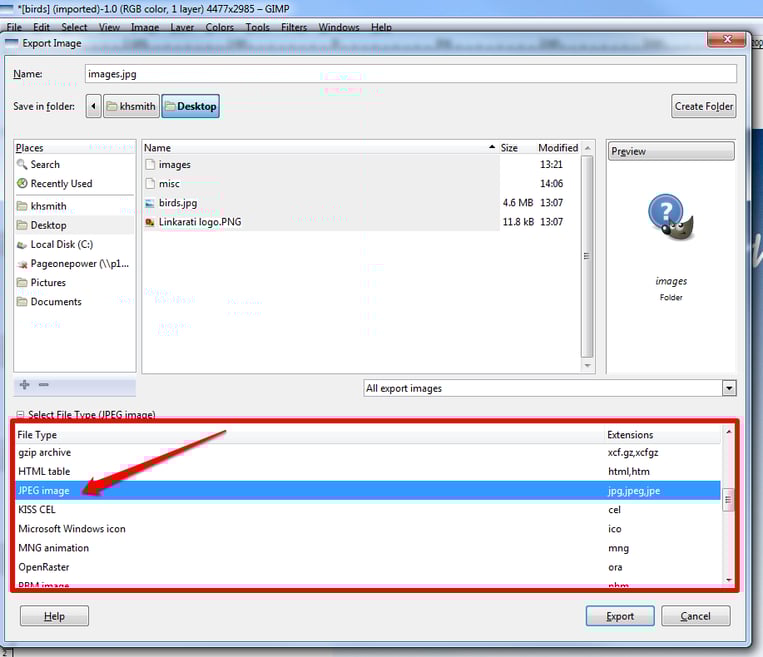
The most common choice, of course, will be .jpg, which is what I chose.
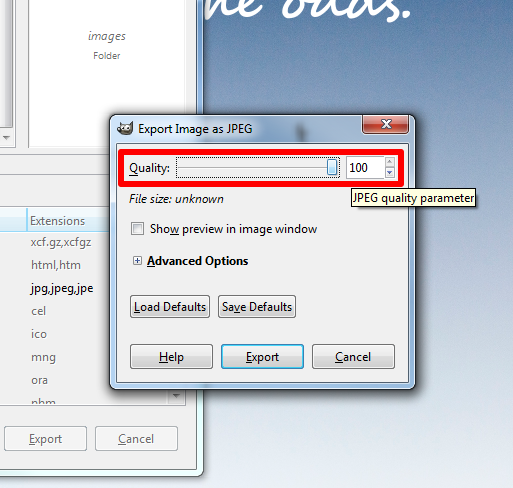
When you click “Export” it will prompt you with one more window regarding image quality:
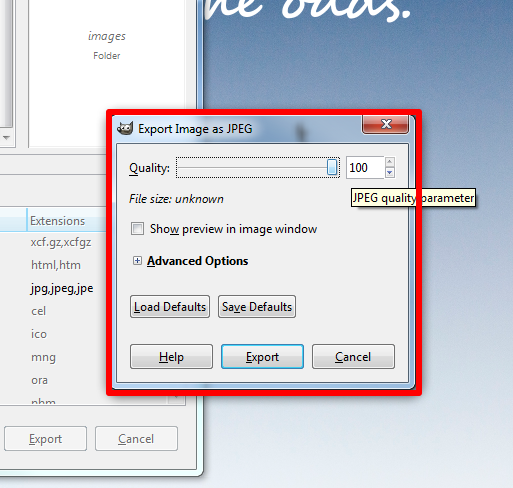
Higher quality images will be bigger files and take up more space on your computer, but I do recommend jacking up that quality slider to “100” before hitting “Export” again:
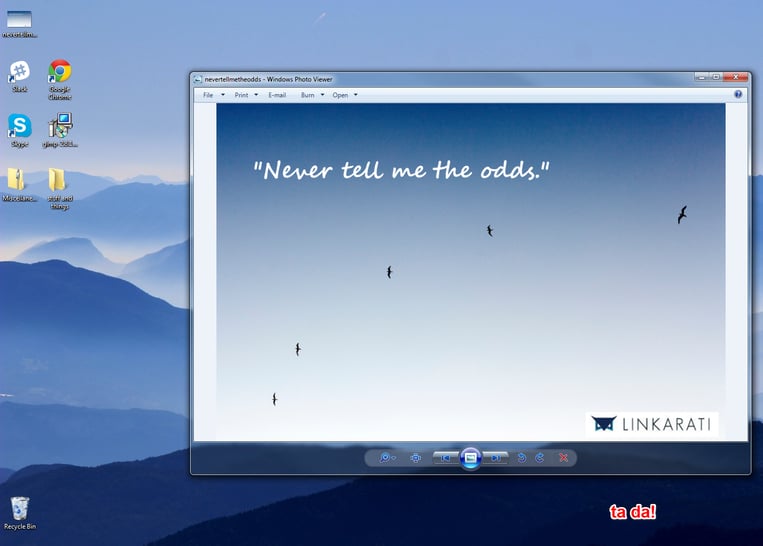
Now you should have a copy of your beauteous image on your computer, wherever you saved it. Mine popped up on my desktop like so:
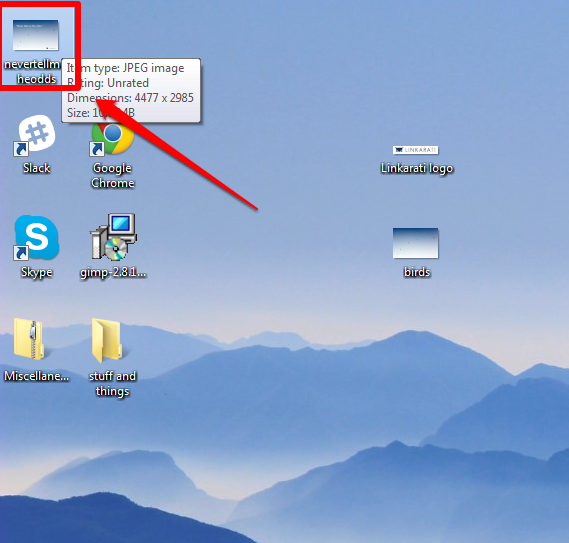
And it opens into a nice, manageable .jpg image when you click on it:
Conclusion
So there you go! You should have a lovely image that will bring some serious visual interest to your blog post -- or to your social post, or as a promotional image, or as a computer wallpaper (and before you ask, yes, of course you can use my Han Solo image for your computer).
Again, Gimp may not be quite as user-friendly as its web-based counterparts like Canva and Pablo, but it has way more horsepower. If you put in the effort of learning to harness that horsepower, Gimp will take you farther. You’ll be able to make far more ambitious images with all kinds of fancy things like wrapped text and customized graphics. It’s more DIY and requires more forethought and skill, but poke around and see what you can achieve.
This Tutorial Tuesday is just the tip of the iceberg.
Happy designing!