Welcome to another installment of Tutorial Tuesday!
For local businesses Google+ can provide tremendous value, particularly through G+ Local pages. G+ Local pages offer a place for companies to get reviews, allow your business to be featured in Google maps within search, and even help your company appear more prominently within local search results.
In this week’s walkthrough we will be going through the step-by-step process of creating and verifying a Google+ Local page for your local business.
Let’s get started.
Creating a Google+ Local Page
Step 1: Create a personal Google+ account if you don’t already have one. However, odds are you do, because if you have a Gmail account Google has already automatically created a Google+ account for you as well.
You can easily access your Google+ account from within Gmail at the top of the page. Just click where it shows “+(Your name)”
![]()
If you don't have a Gmail account, you can still sign-up for Google+ but you must first create a Google account. To create a Google account, go here.
Once you have a G+ account you can sign into G+ and begin the process of creating a local page.
Step 2: Click on the “Pages” tab located within the drop-down menu on the left:
![]()
Step 3: Next, click the button labeled “Get Your Page” in the top right corner.
![]()
Step 4: Then you will be presented with three options for the type of page you want to create. To create a local page you will be choosing between the “Storefront” or “Service Area” options.
![]()
Which option you select depends on your type of business. The “Storefront” option is for businesses that serve customers at their location, while the “Service Area” option is for businesses that serve their customers within a specific service area.
After selecting one of these options you will be taken to a page with a map and a search box.
Step 5: Enter the name or address of your business into the search box and a drop-down menu will appear that should contain your business. For example:
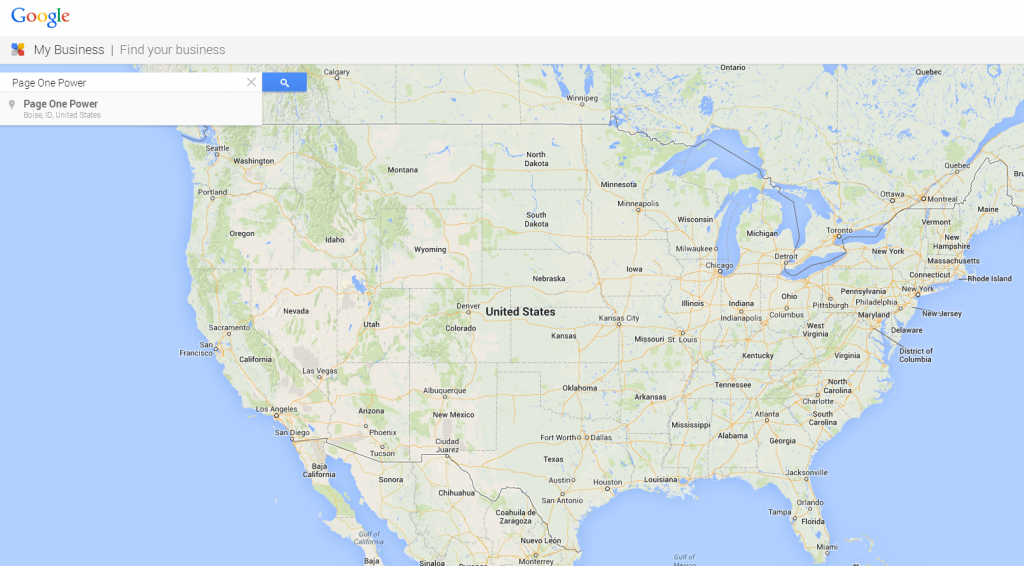
If you don’t see your business in the listings that appear, click the tab labeled “None of these match” and add your business.
![]()
Step 6: You will then be prompted to enter some information about your business.
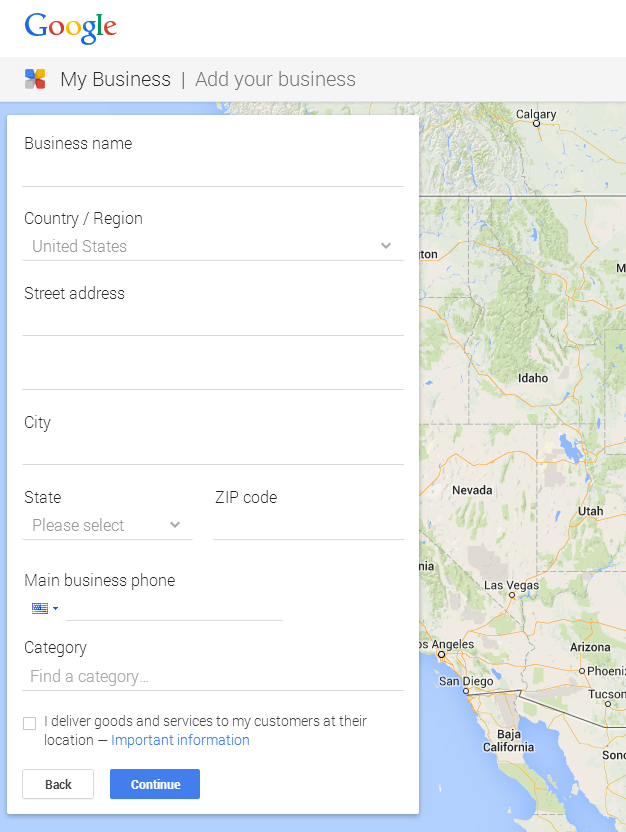
Once you have ensured that the information is correct click through the next couple screens by clicking “Continue” until your page is created.
Verifying Your Local Page
Congratulations, you’ve created a Local page – now we just need to verify it.
The verification process is pretty straightforward as you have two different options.
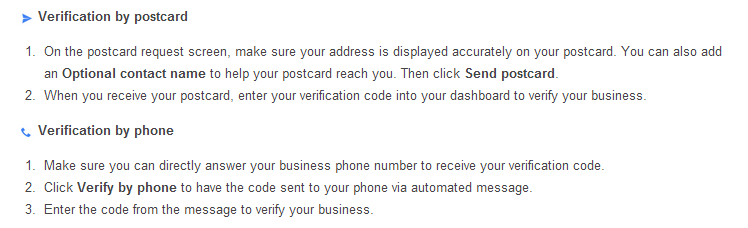
Regardless of which option you choose, you will receive a verification code which you can enter into your Local page’s dashboard and your business will be verified.
Before you submit your verification code, take a moment to make sure all of your information is accurate and up to date, both on your website and local page – it’s easy to end up with mismatched information if your company has moved or has an old website. It is essential that you list the correct information as inaccuracies will confuse both Google and customers.
Verification is important as it will help your business’s performance across Google search, maps, and mobile search.
Recap
If you are a local business that services local customers, you absolutely need to set up a G+ Local page. Local pages provide a way for customers to leave reviews, help customers find your store through Google maps, and can even help improve your company’s visibility in local search.
Creating and verifying a G+ Local page can seem confusing at first, and it can be a bit more complicated if you are trying to transfer local verification to a G+ Business page. However, this tutorial should clear things up and help guide you through the process. To recap, here is how to create and verify a G+ Local page:
- Create a Google+ account if you don’t already have one
- Click on the “Pages” tab located within the drop-down menu on the left
- Click the button labeled “Get Your Page”
- Select a type of business. choosing between the “Storefront” or “Service Area” options.
- Enter the name or address of your business into the search box and a drop-down menu will appear that should contain your business (if your business does not appear, click “None of these match” and add your business).
- Enter relevant information about your business and click through until your page is created.
- Once your page is created make sure to verify it with Google - ensuring that you have the correct information that matches what is on your website