Hello, and welcome to another installment of Tutorial Tuesday, Linkarati’s weekly series dedicated to highlighting a particular SEO process and/or tactic.
This week, I’ll be explaining how to set up a community on Google+.
You might have heard that Google+ is dead, or at least dying.
Hello, and welcome to another installment of Tutorial Tuesday, Linkarati’s weekly series dedicated to highlighting a particular SEO process and/or tactic. This week, I’ll be explaining how to set up a community on Google+.

You might have heard that Google+ is dead, or at least dying. Much like Game of Thrones, the Internet has a nasty habit of killing people before their time.
In fairness, celebrity death hoaxes predate the Internet. Mark Twain was the subject of such a hoax once. When he heard about it, he responded in the Twainiest way possible.

I’ve even written about Google’s failure at social media in the past. Despite the fact that everyone has forecasted its death for quite some time, it manages to not only survive, but it continues to grow.
Google+ seems to be in good shape. Good enough shape that it is still home for a lot of community engagement.
If you’re looking to build a community, Google+ is an appropriate place to do so. Most people use Google+ for business and special interests, rather than taking pictures of food.
Google+ actually has communities for like-minded people. Linkarati has our own community for link builders in fact.
In my opinion, it’s been a big win for us. It’s helped us to keep the link building community engaged and talking. If you want to know how to set up your own community, here’s how.
For the purpose of this tutorial, I will pretend I’m building a community devoted to women’s soccer. Why?

Step One: Creating the Community
Go to your Google+ page, which you can access in the squared menu at the top right of your gmail page (really any page on the Google domain).
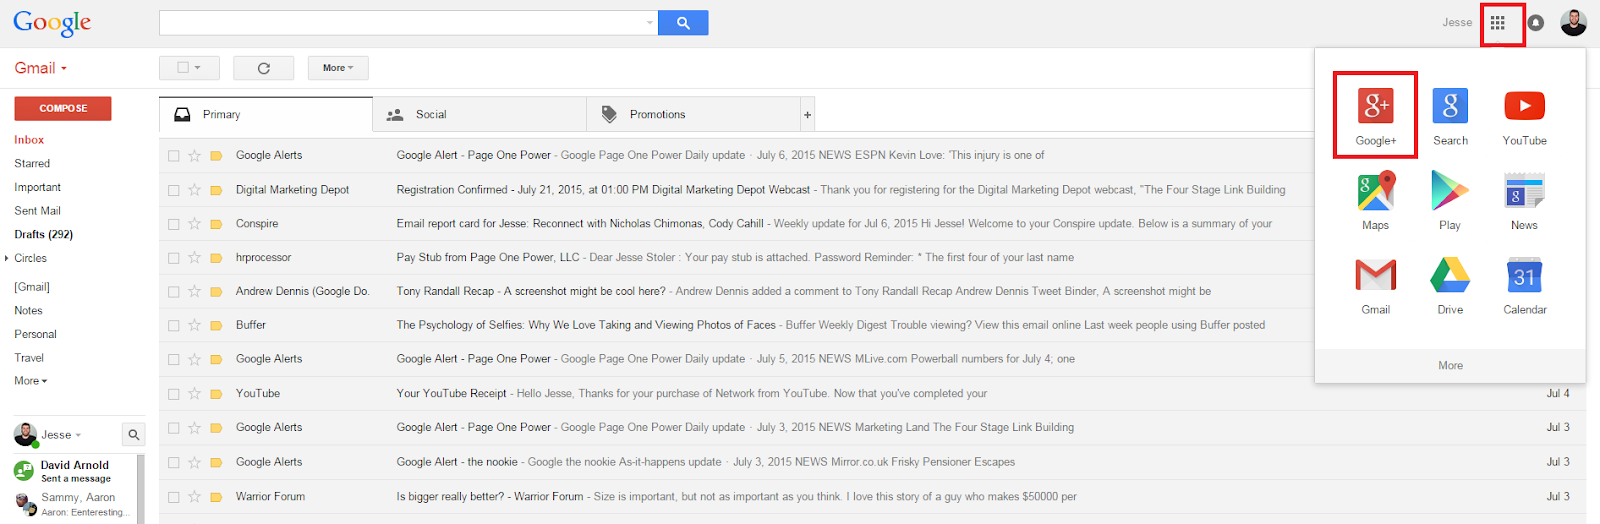
This will take you to your G+ feed. Note: I do in fact have a Google Alert set up for “The Nookie.” You’re reading that right. We all do stupid things when we’re younger, and technically I was younger five days ago.
Anyway, now you’re at your G+ feed. Click on the “home” menu under the logo in the top left corner.

You’ll see these options
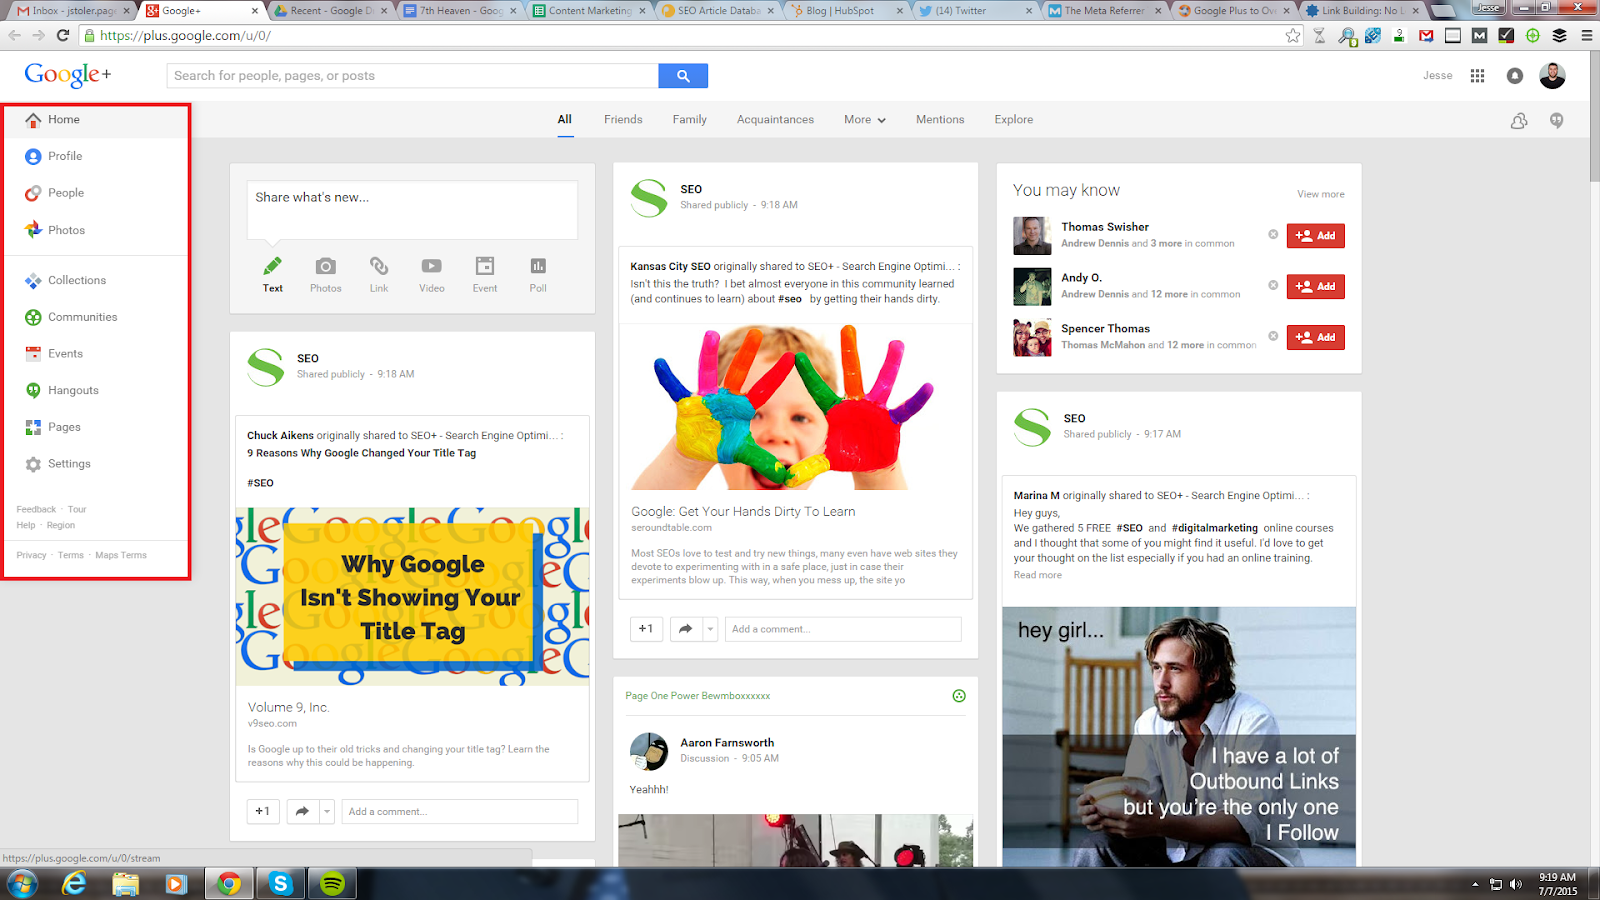
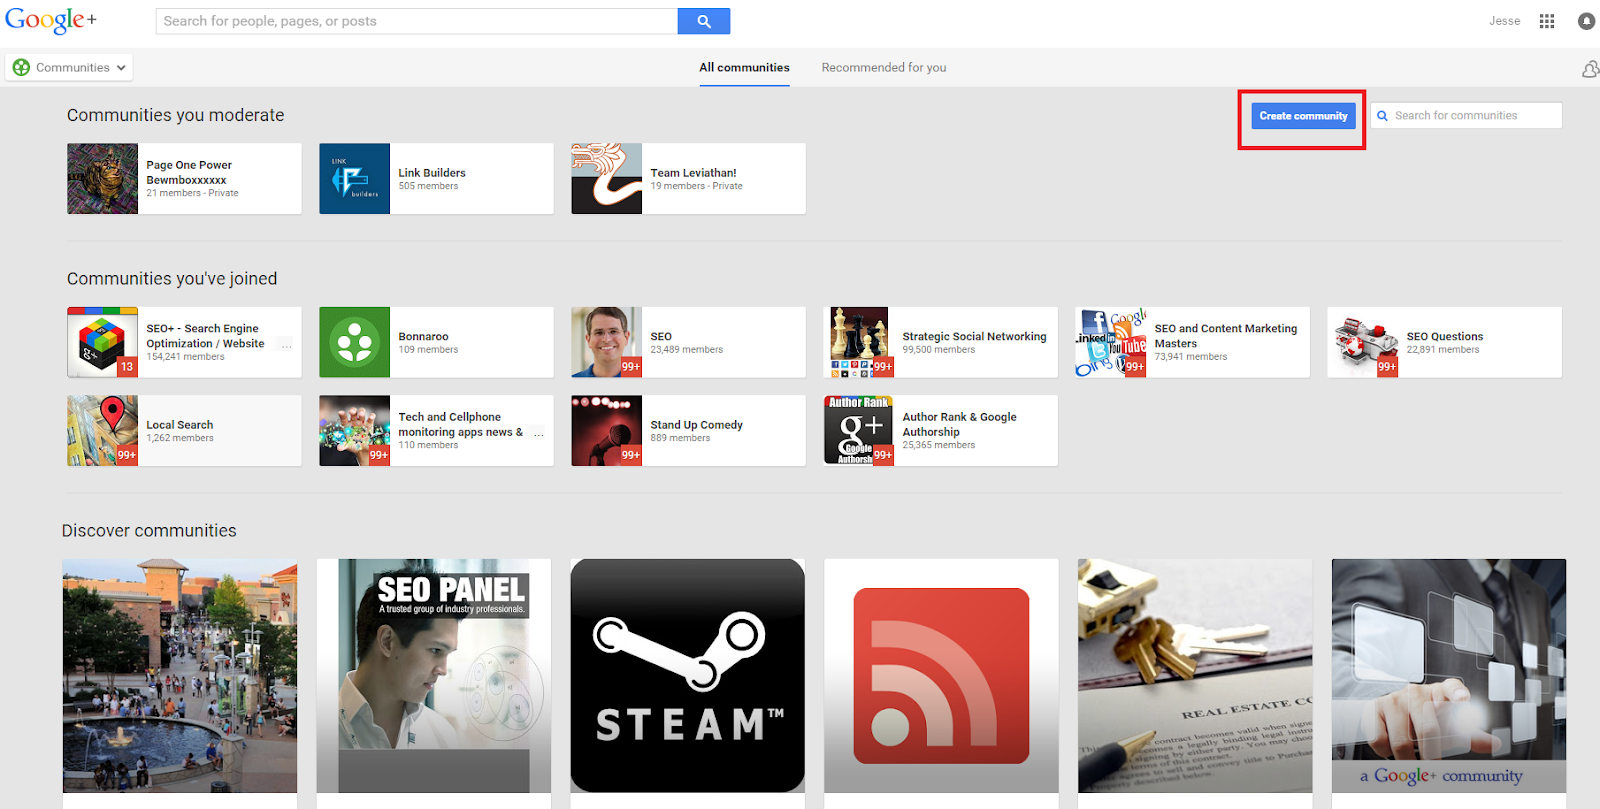
Select “Communities,” the sixth one from the top. Once you do, you’ll be led to this page.

This is a page of, well, your communities. If you’re new to G+, this page will only recommend communities to you.
Join all the communities you want to, but if you want to create a community, click on the blue button that says “Create community.”
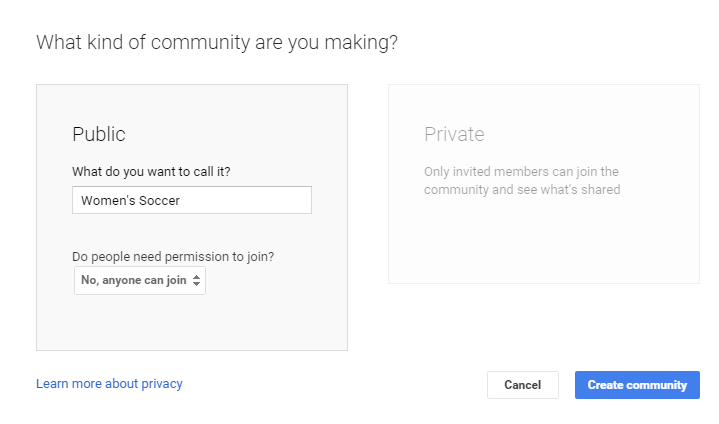
Once you do that, Google+ will have a question for you:
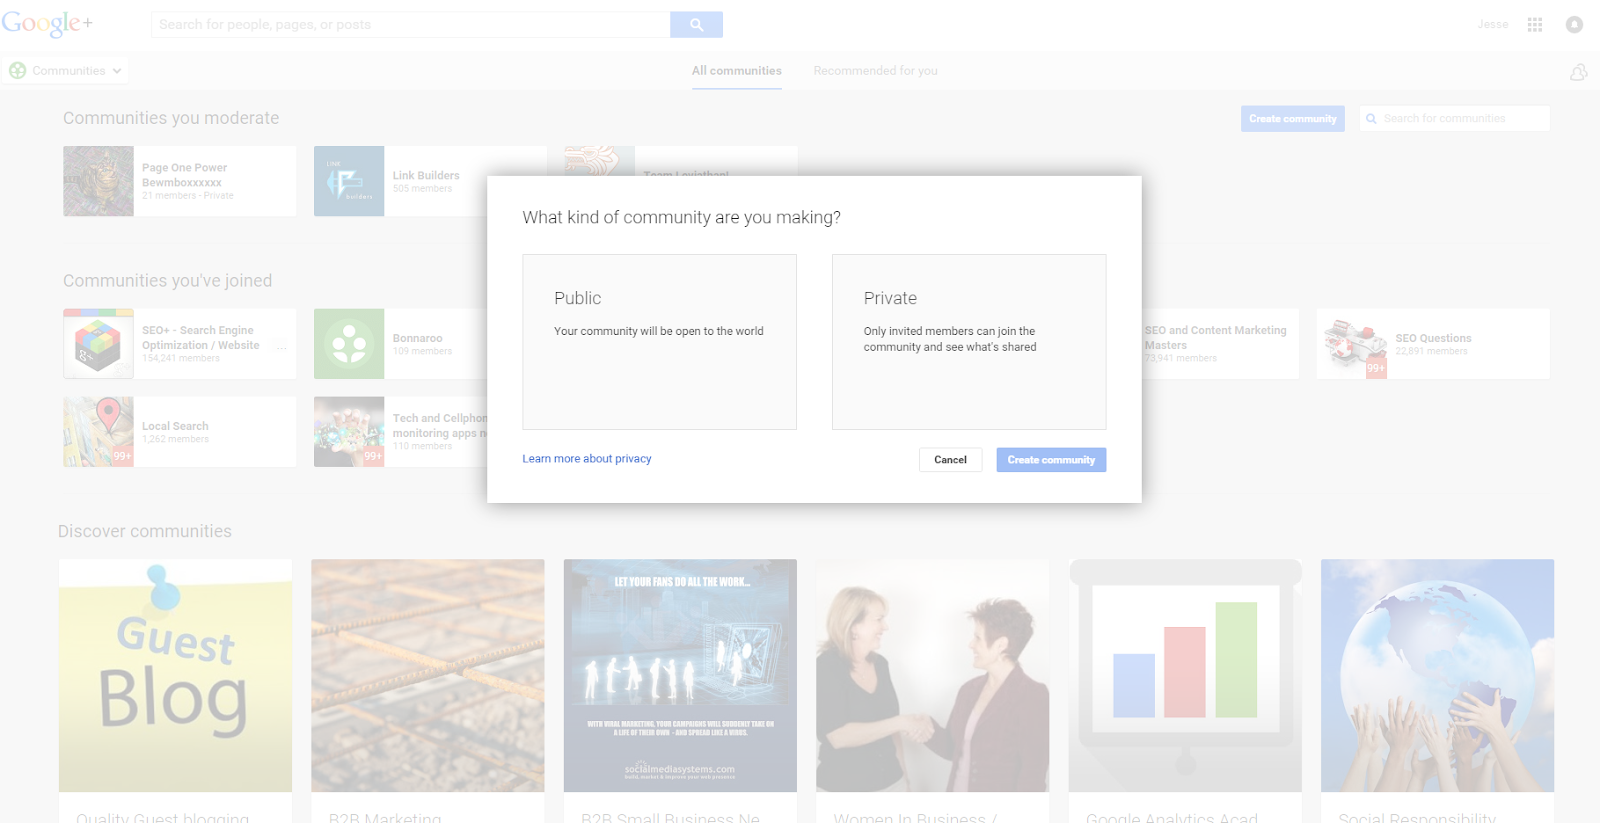
I’m not here to choose your own adventure for you. Since we’re doing this under the pretense that the end goal is community building/engagement, I’d recommend creating a public community. Yes, anyone who wants to join CAN join, but you can still control the community if you so choose. For example, in the Link Builders community we set up, moderators such as myself have to approve members before they can join. Private communities are more beneficial for internal engagement and/or personal interests.
To learn more, click on “Learn more about privacy” at the bottom of the pop-up, but only do so if you appreciate the irony of Google educating you about privacy, or if you’re the kind of person who wants to learn more about fireworks from New York Giant Jason Pierre-Paul.
So let’s do what Congress fought hard against and pick the public option. Of course much like weekly phone calls with my father, there are always more questions.
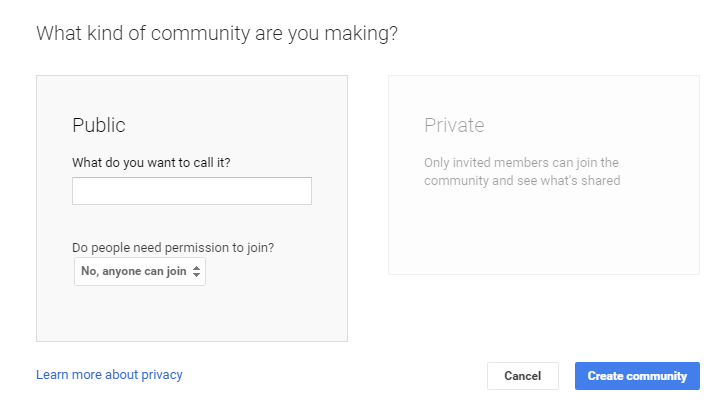
When it comes to naming, there’s no reason to be cute or clever. Pick an explicit name that will make it easier for Google+ users to find you. Also, pick something that isn’t being used. Unfortunately, Google+ doesn’t reject duplicate community names. I can set up a community right now called Link Builders.
Remember the “Create community” button? There’s a search bar right next to it.
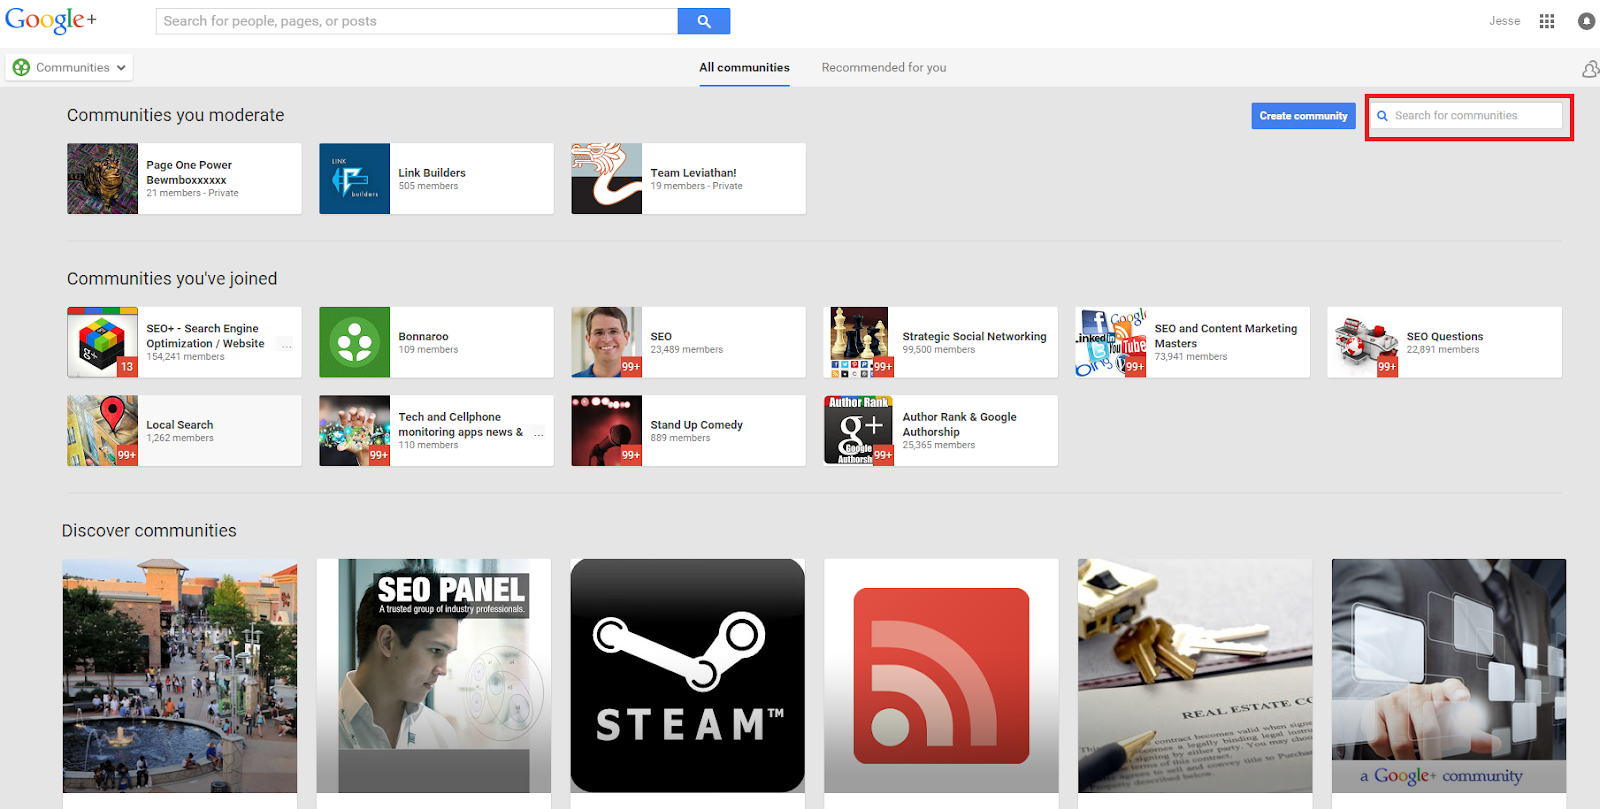
Do a quick search of your keywords to see what other communities in your niche are called. This will:
-
Prevent you from stepping on any toes
-
Prevent confusion in the future
So if I search for
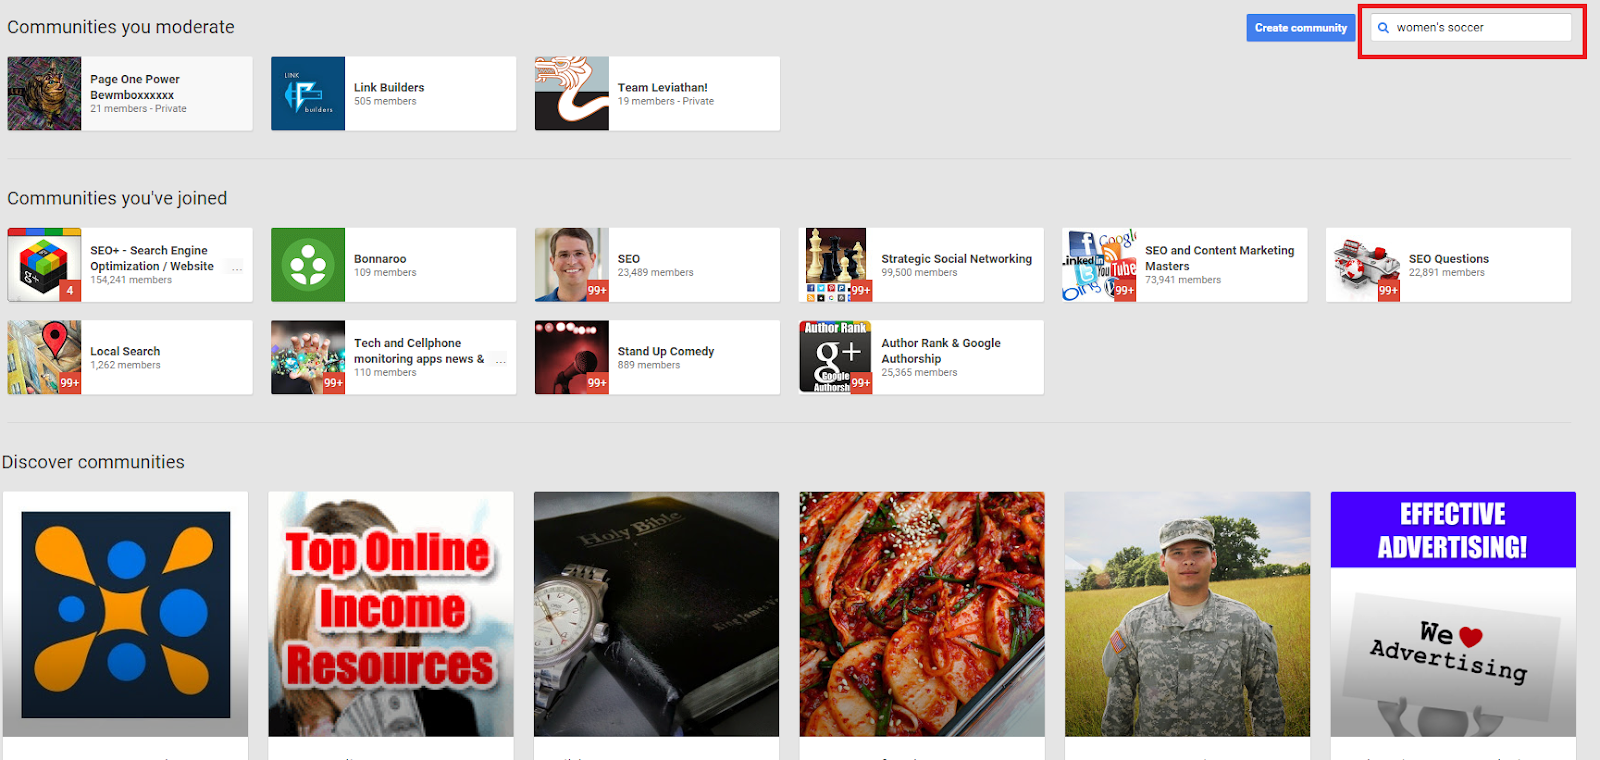
This page will be returned
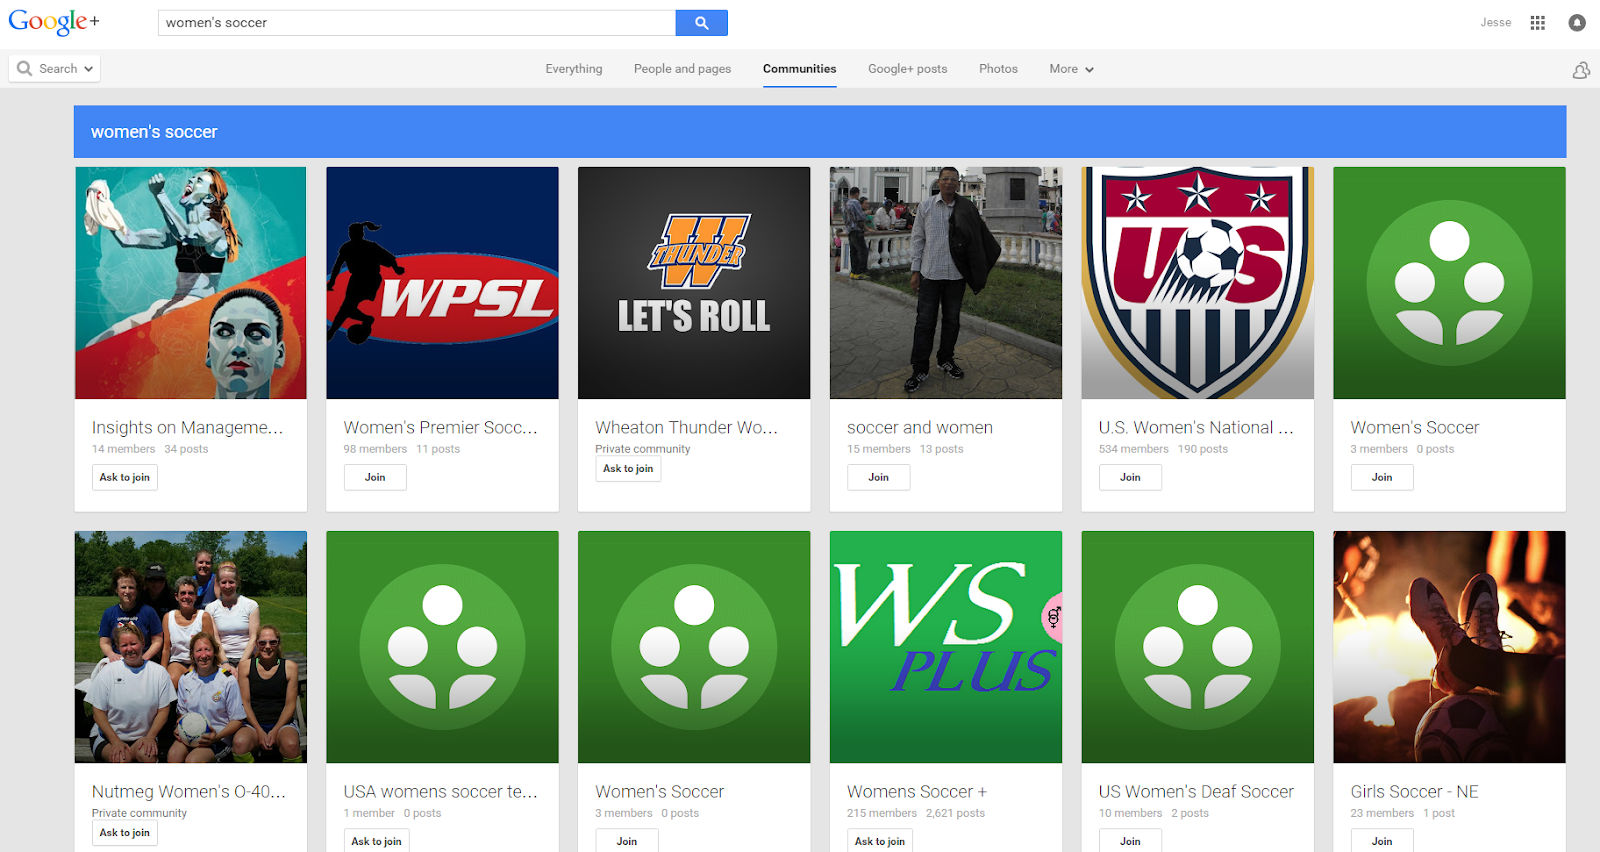
As you can see, there are already two different communities named “Women’s Soccer,” and coincidentally they both only have three members. Neither of them have their own cover photo either. This would be a rare instance of when it would be okay to name your community something like “Women’s Soccer.” Neither of these two communities seem to be interested in growth--not a single post in either one--so as long as you actually do something with yours, there should be little confusions in the future.
So now we can go back to creating our community.
This is the part when you can choose if you want to moderate membership.
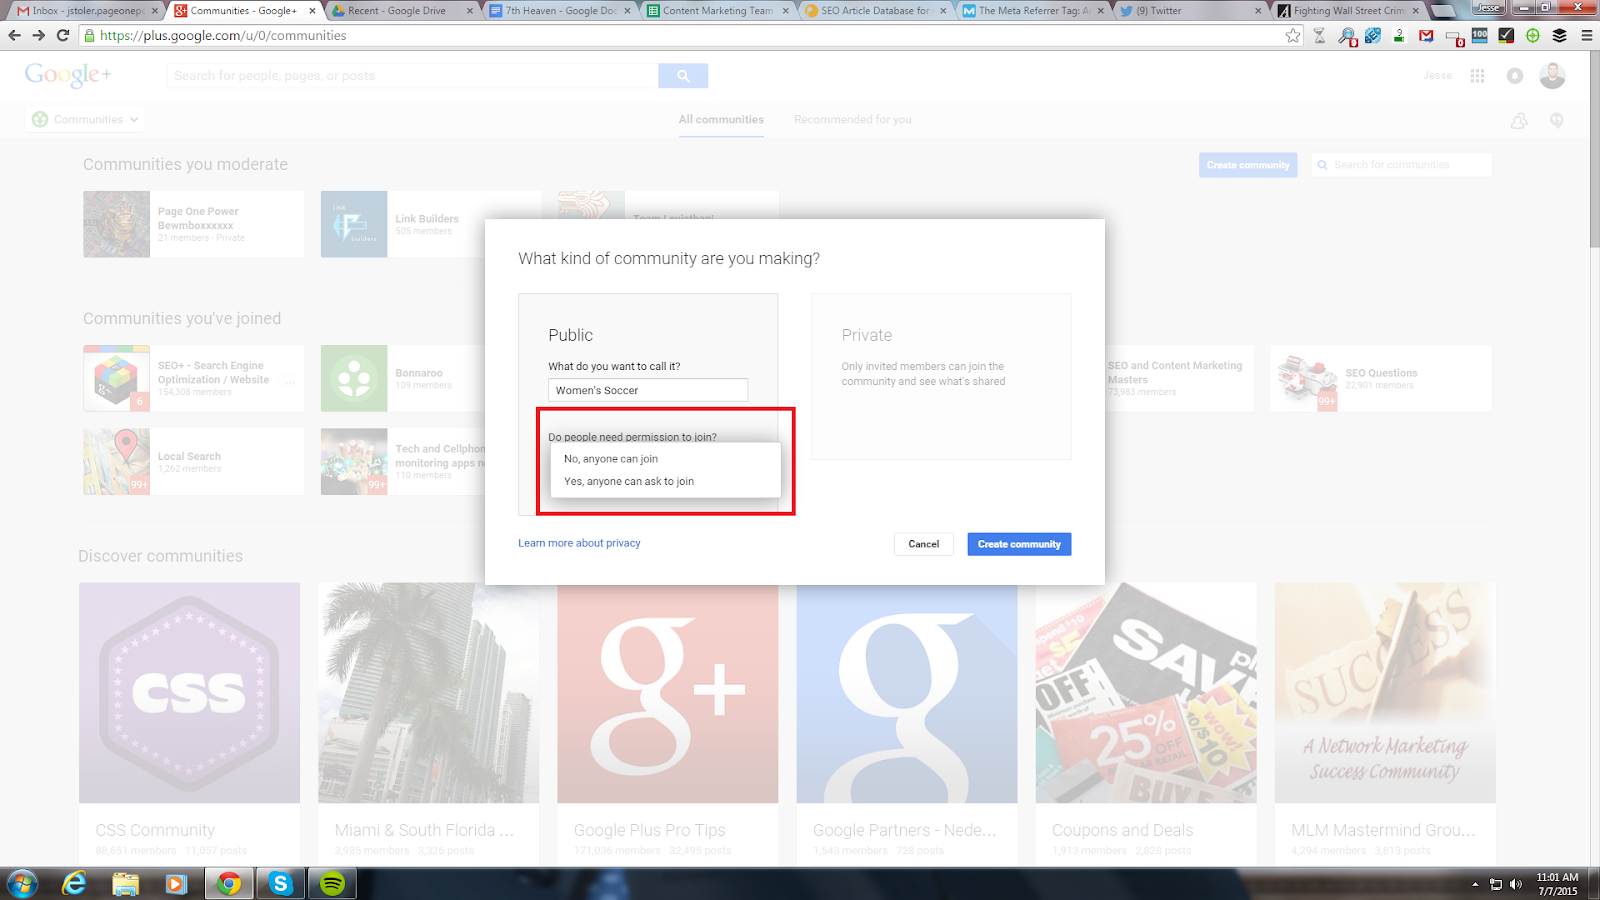
Again, this is really up to you. There’s no right or wrong answer here. In the Link Builders community, we chose, “Yes, anyone can ask to join.” It’s our way of attempting to prevent an influx of spammers. Ultimately, we approve the overwhelming majority of requests, and we’ve rarely had a problem with spam. Unlike the Japanese net during the World Cup final, almost nothing gets in.

Now, the moment you’ve all been waiting for
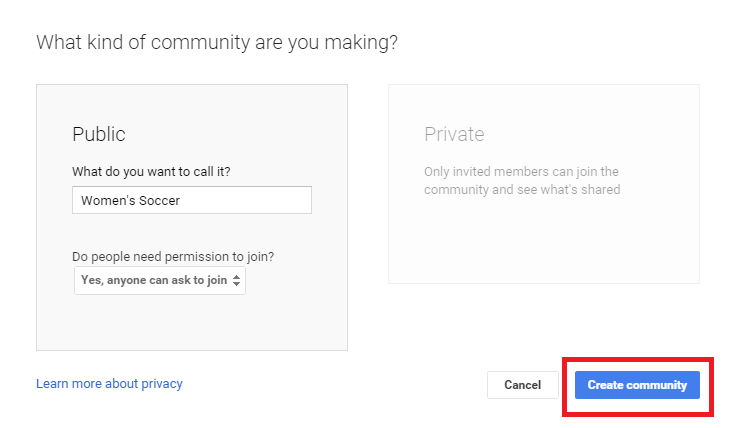
Once you click that, congrats! You’re the owner of your very own G+ community.
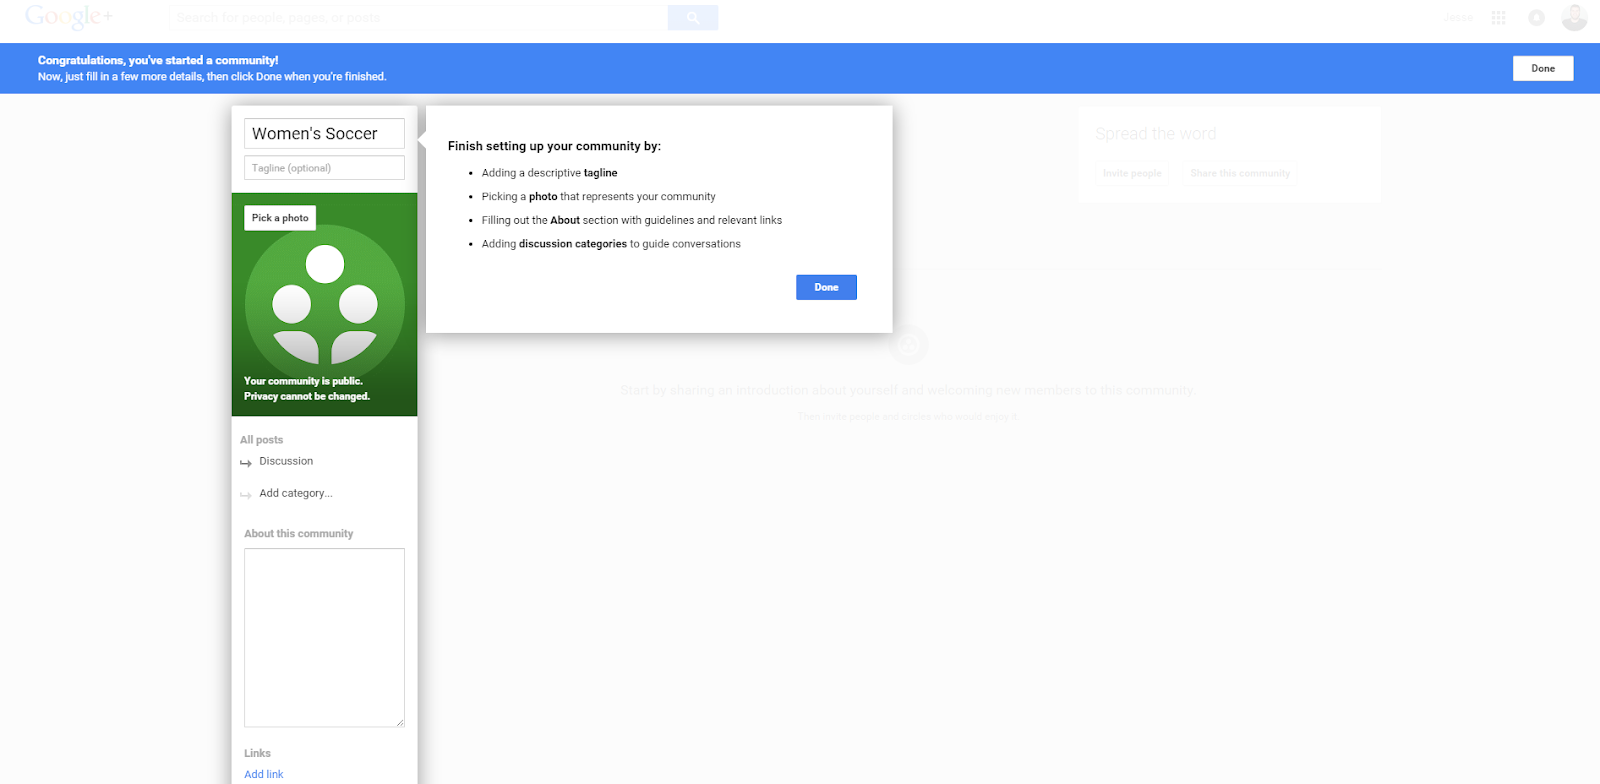
Step Two: Editing the Community
But like the other two communities we found, there’s not a lot here.
Now that I’m done blowing your mind, let’s build the community a little bit. At the very least, let’s make it look presentable.
First, add a tagline.

No need to go in-depth here. Just a short descriptor or a catchy slogan will suffice.
“A community for fans of women’s soccer.” Sure, that will do for now. You can change this in the future if you come up with something better (more on that in a bit).
Next, pick a cover photo. Note: You don’t have to go in the order I’m doing this. I’m just going top-down.
Again, pick any image you want. Bear in mind that the image has to be 960x540. The only kind of image I would advise against is a branded image. If this is an effort of community building, you want to preserve the concept of community. A branded featured image may turn off potential members who think your community is nothing more than an opportunity to talk about how cool your services are.
Now, we can explain the community in greater detail.
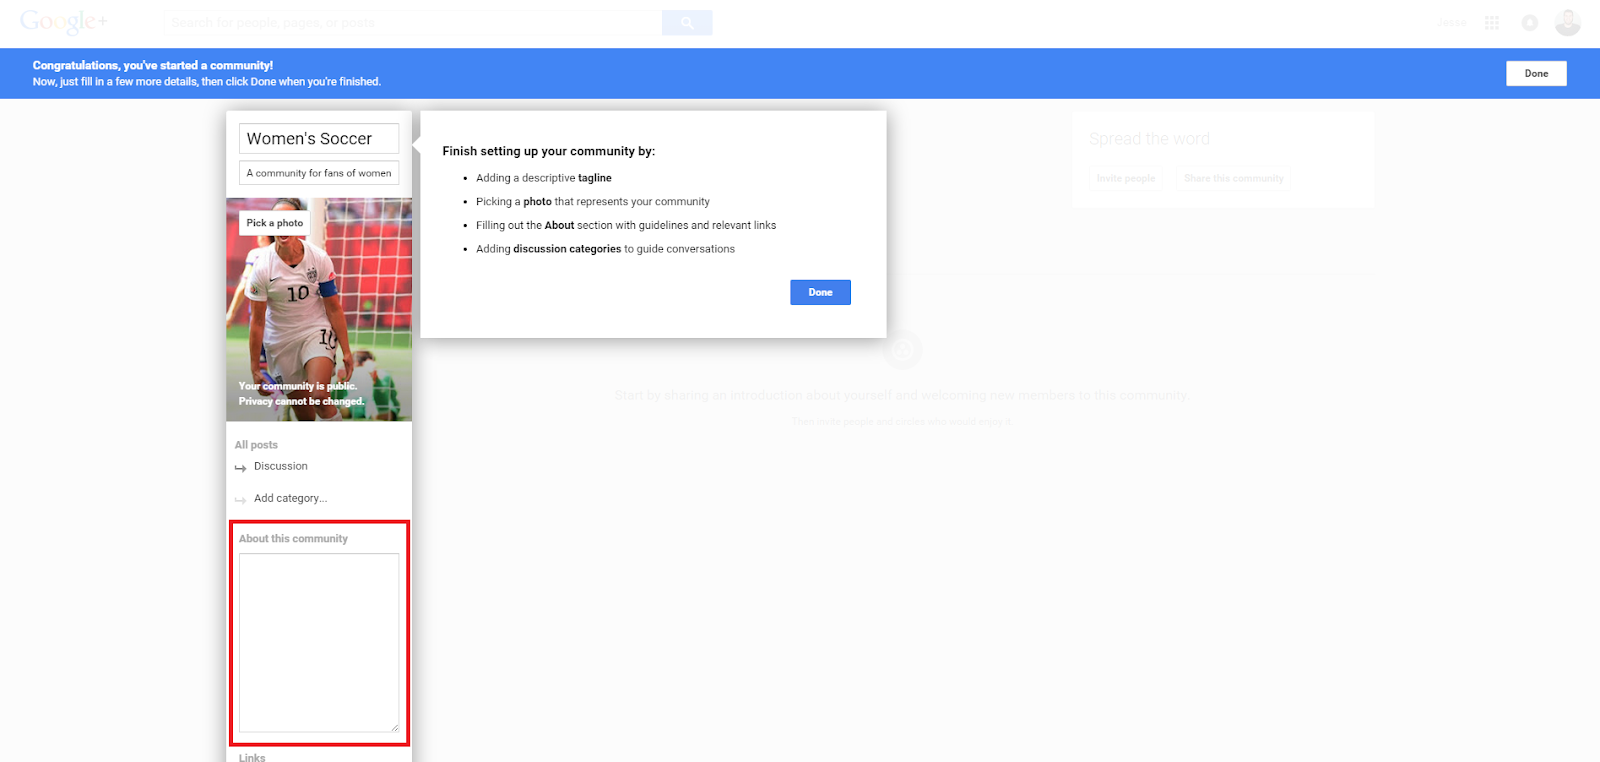
There’s no character limit here, but there’s also no reason to write something the length of the Bible. Here is what you should do with this section:
-
Welcome members
-
Explain the purpose of the community
-
Explain any policies you will be enforcing as moderator
Again, such policies are obviously up to you. How about something like:
This is a community for soccer fans, particularly fans of women’s soccer, international and the NWSL. This is a heavily moderated and curated community, but we are open to any and all that would like to discuss news, players, and matchups. Please keep posts on-topic and make sure you submit them to the appropriate category. Links to posts that are low-value or add nothing to the community will be removed. If you share a link, please explains its relevance to women’s soccer. Spam will get you banned from the community.
Before you accuse me of plagiarizing language from the Link Builder’s community, let me defend myself by saying you’re totally right. I’m guilty.
Sorry.
Moving on, this is the part when you have the option to add a link back to your website.
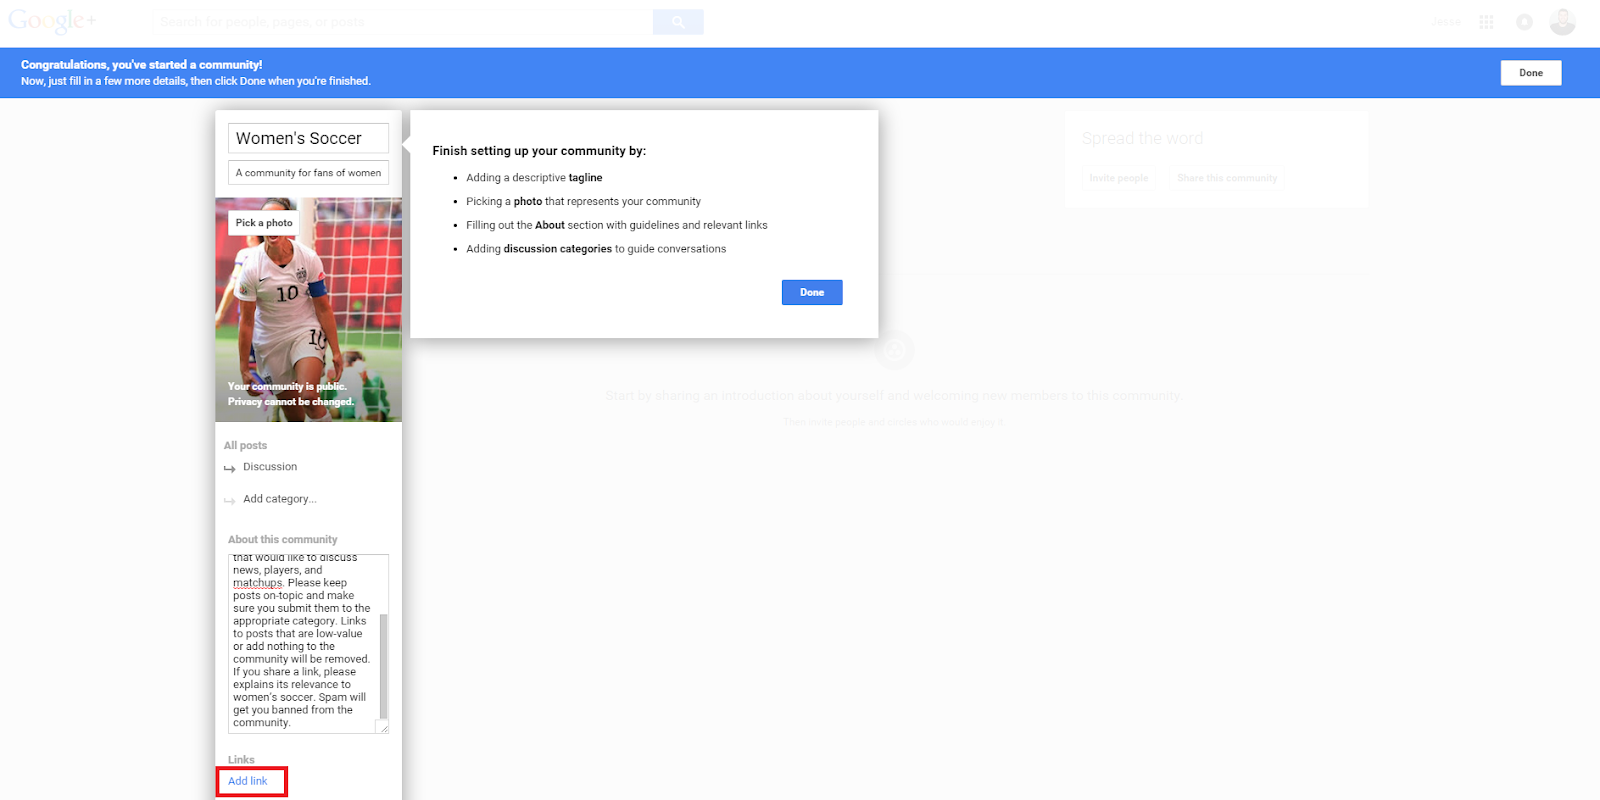
Again, I would say do as you please here, because there’s no right or wrong option. I would advise against it, however, if you’re here for the purpose of community building. Again, too much branding might turn away prospective members.
And right below that is the location setting.
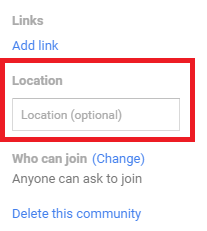
As you can see, it’s optional. And if you’ve changed your mind on opening up membership, you can click right below the location setting. After that…
You have a community!
Step Three: Sending Invitations
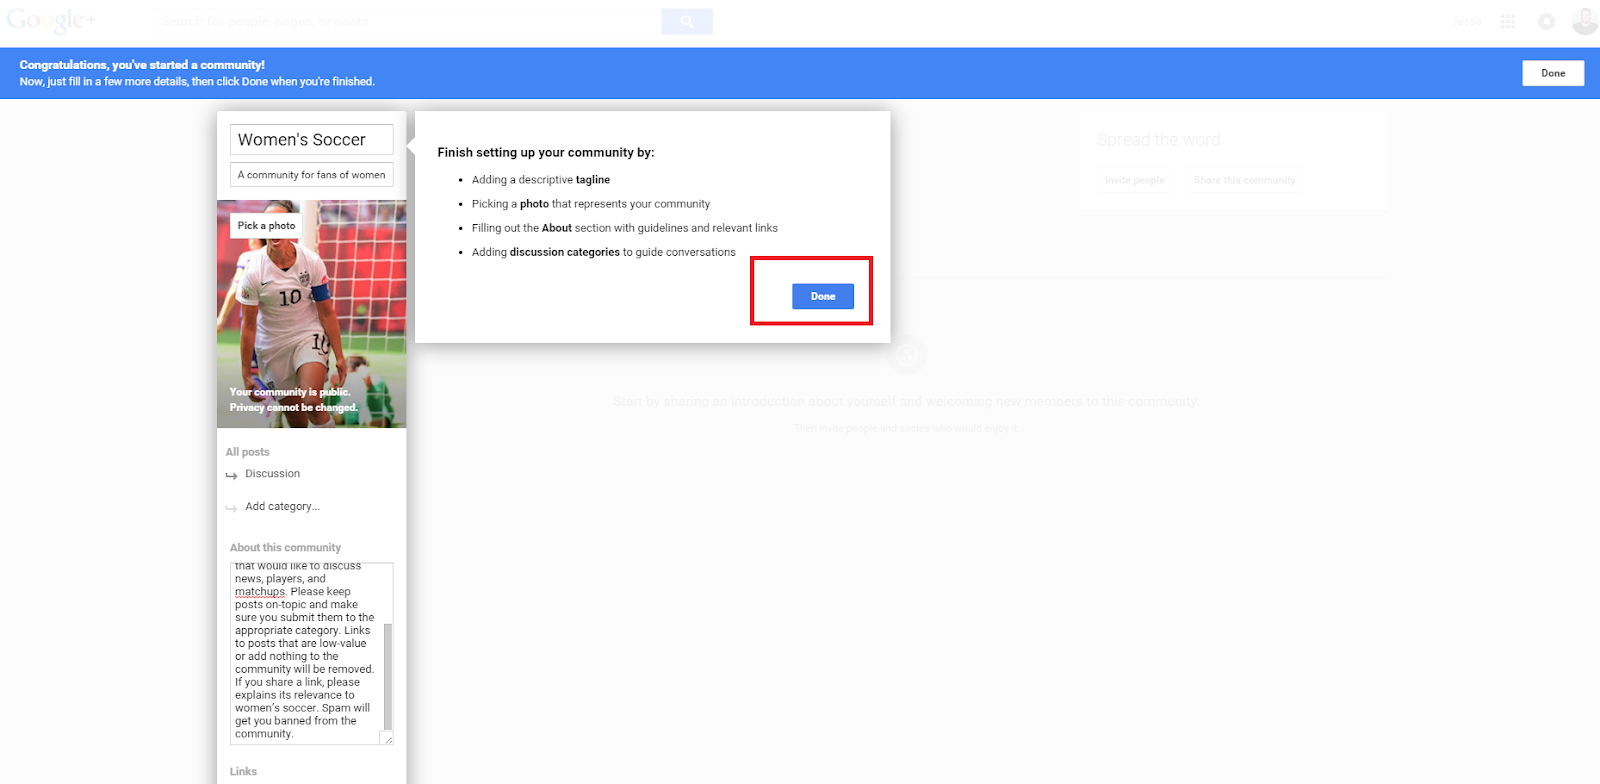
Once you’re done editing, this will pop-up:
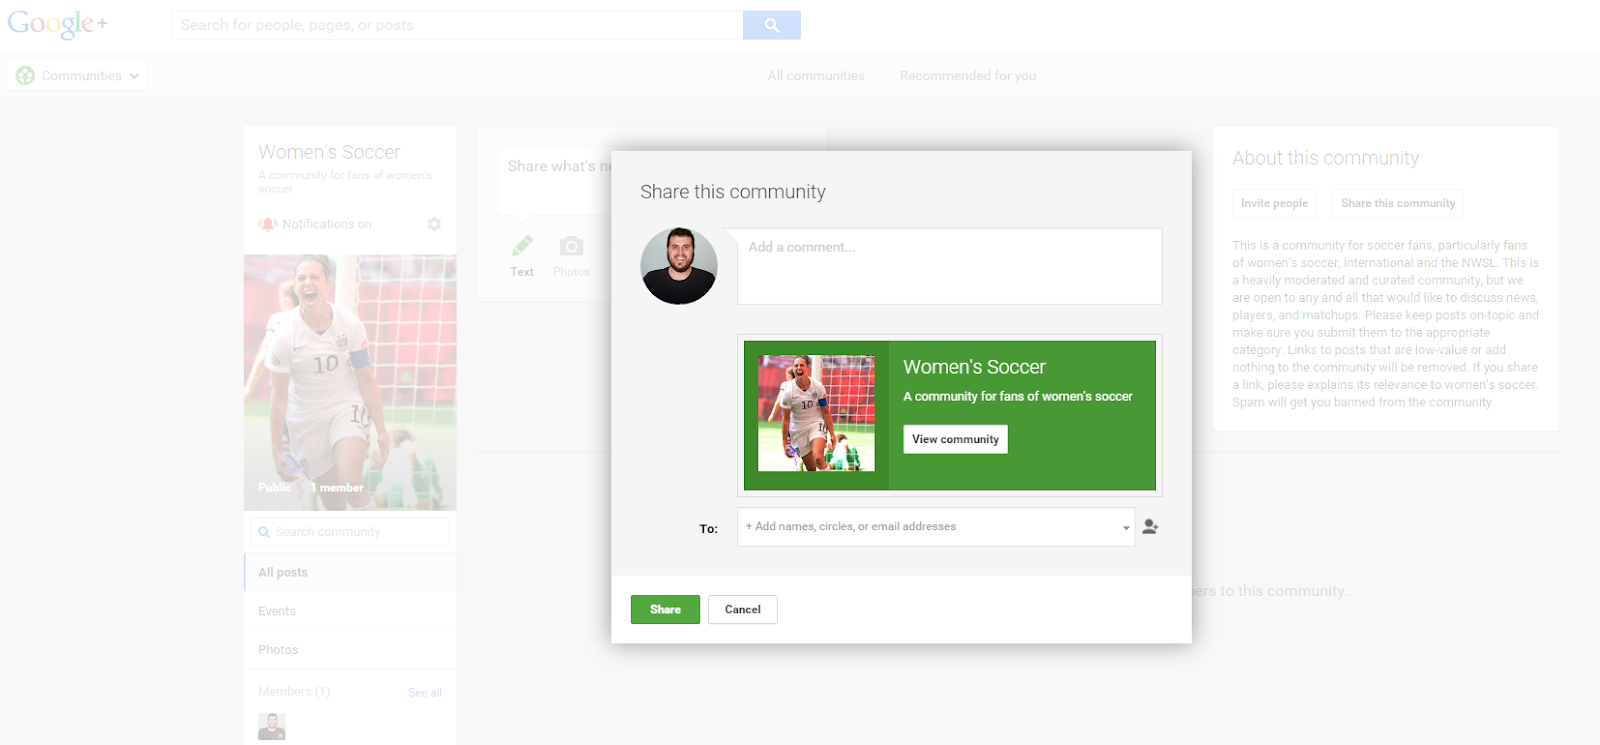
Time to start the invitation process. You have several options here:
-
You can use this pop-up and send out an invitation to everyone in your G+ circles
-
You can email people within your niche who may be interested
It’s up to you. The only thing I would recommend strongly is that you DO invite people, rather than leave your growth up to chance. Not only should you invite people, but invite influential people. Invite people who blog about what you blog about, and have a sizable following.
If you want to know who to find these people, that’s a whole different tutorial.

And wouldn’t you know it, Andrew Dennis already wrote such a tutorial. He can teach you how to find influential people on Google+, and I would say it’s best to look on Google+ first. Not everyone is particularly active on the platform, so it would be more time efficient to narrow down the people who actually maintain a presence there.
Click away from the invitational pop-up now.
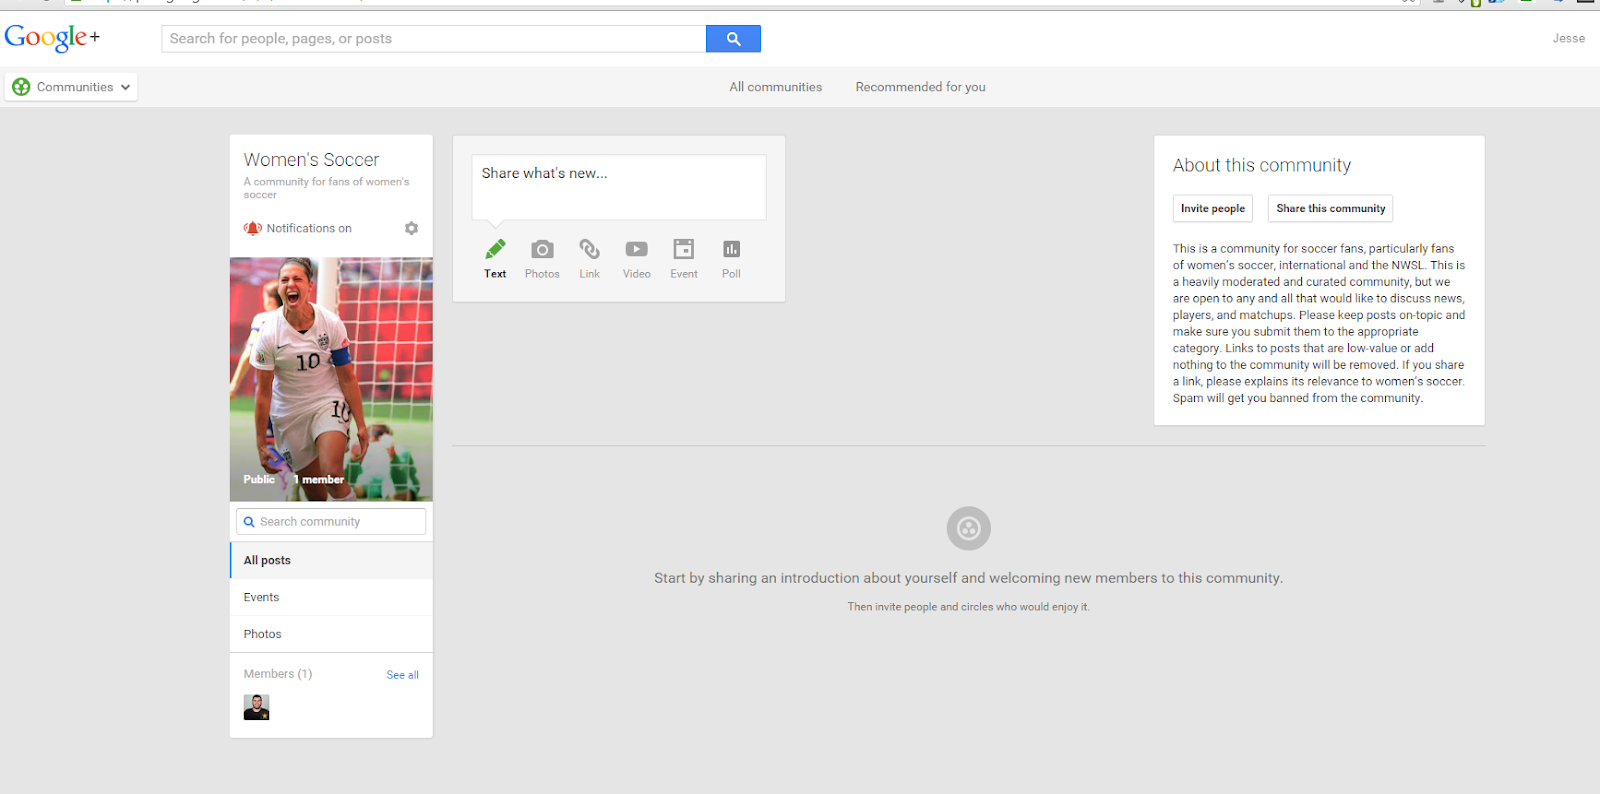
Here’s your community. Uh oh.

Relax Hansel. Just find the little gear icon in the menu on the left.
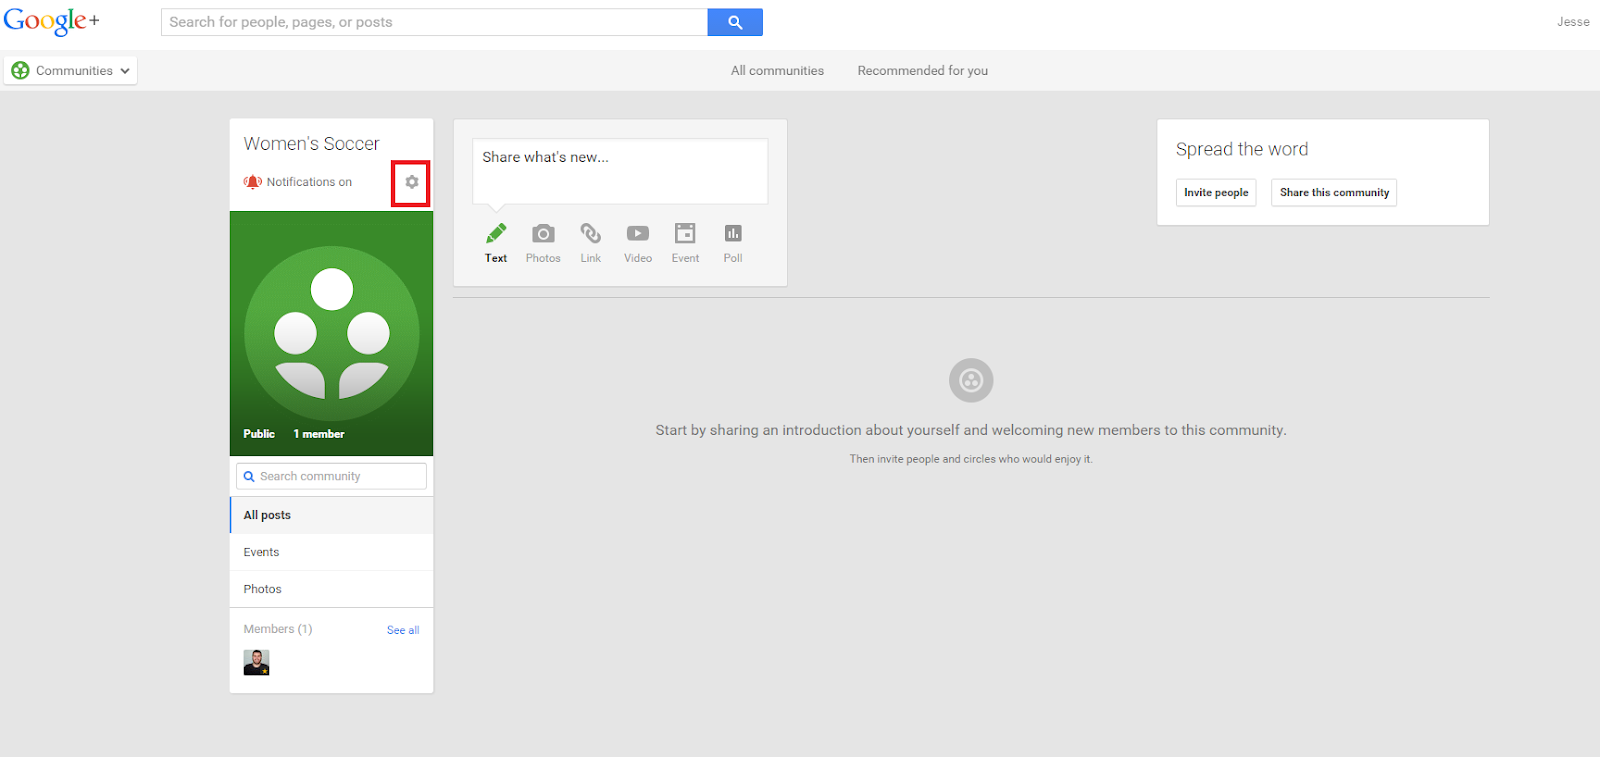
Click on that, and you’ll find an “Edit community” option.
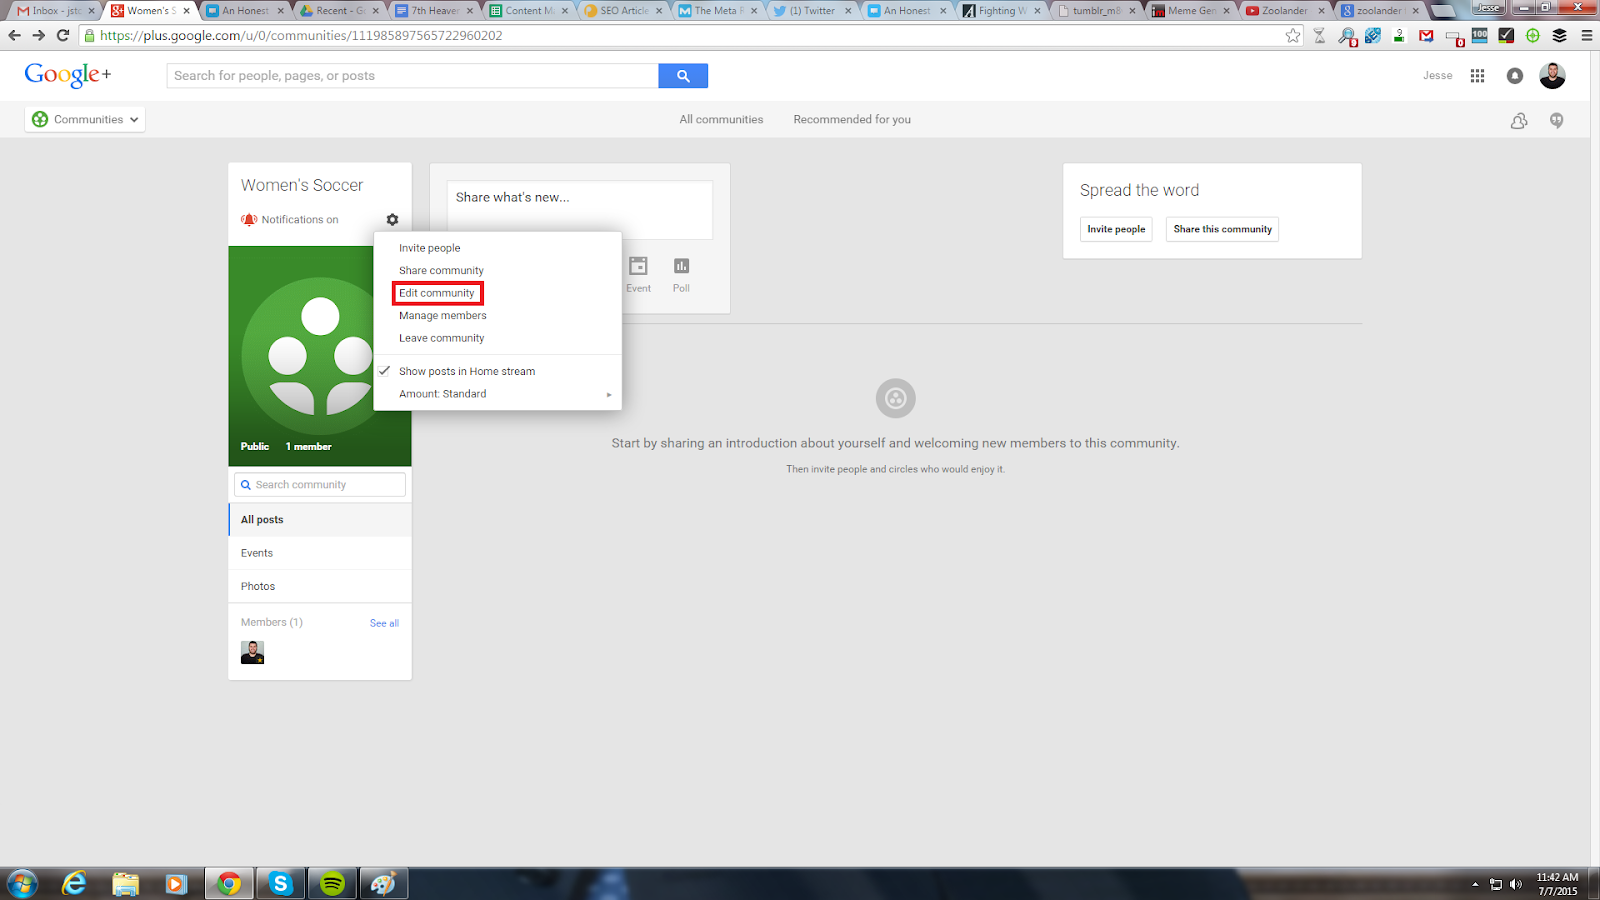
All the old options will show up again should you change your mind about something.
Community building is an often forgotten aspect of marketing. Forgotten, but often successful and beneficial when applied. It’s been great for our company, and I hope it’s great for yours!