Hello loyal Linkarati readers, and welcome to another tutorial of the Tuesday variety.
This week I want revisit a tool that I’ve previously discussed on Tutorial Tuesday – Pablo from Buffer. I’m covering Pablo again because the tool has been significantly updated since my last tutorial, and Pablo 2.0 offers some exciting new features along with an overhauled design.
For this tutorial, we’ll cover how to:
- Quickly create an image in Pablo.
- Select the ideal size for optimum social sharing.
- Use the Pablo Chrome extension.
Pablo is fantastic for quickly and easily creating attractive images.
In fact, to see just how quickly an image can be created in real-time check out this video Buffer created.
Pablo is by no means the most comprehensive or in-depth image creation platform available (see: Canva, Pixlr, Gimp, etc.), but that’s not Pablo’s purpose. Pablo excels in simplicity and efficiency, making graphics perfect for sharing:
- Quotes
- Statistics
- Product Images
- Testimonials
- Live events
- Etc.
For more ideas on ways to use Pablo read this post from Buffer.
Pablo lends itself very well to social media, and can be a very useful tool to take your social presence to the next level. Studies have shown that images drive more engagement on social platforms. For example, photos average 35% more retweets than tweets with no image.
Pablo makes it easy to add visual elements to your social shares.
So without further ado, let’s dive in.
Step One: Quickly Creating an Image in Pablo
Start by heading over to https://buffer.com/pablo. Here is what Pablo 2.0 looks like:
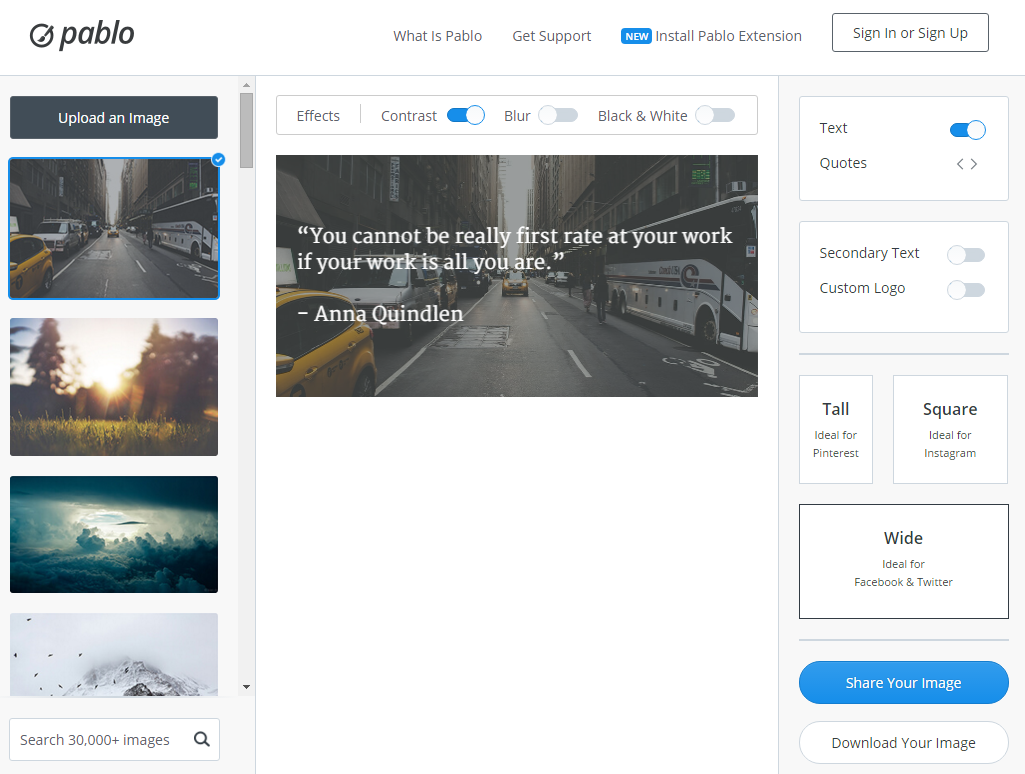
You’ll notice you have the option to “Sign In or Sign Up”.
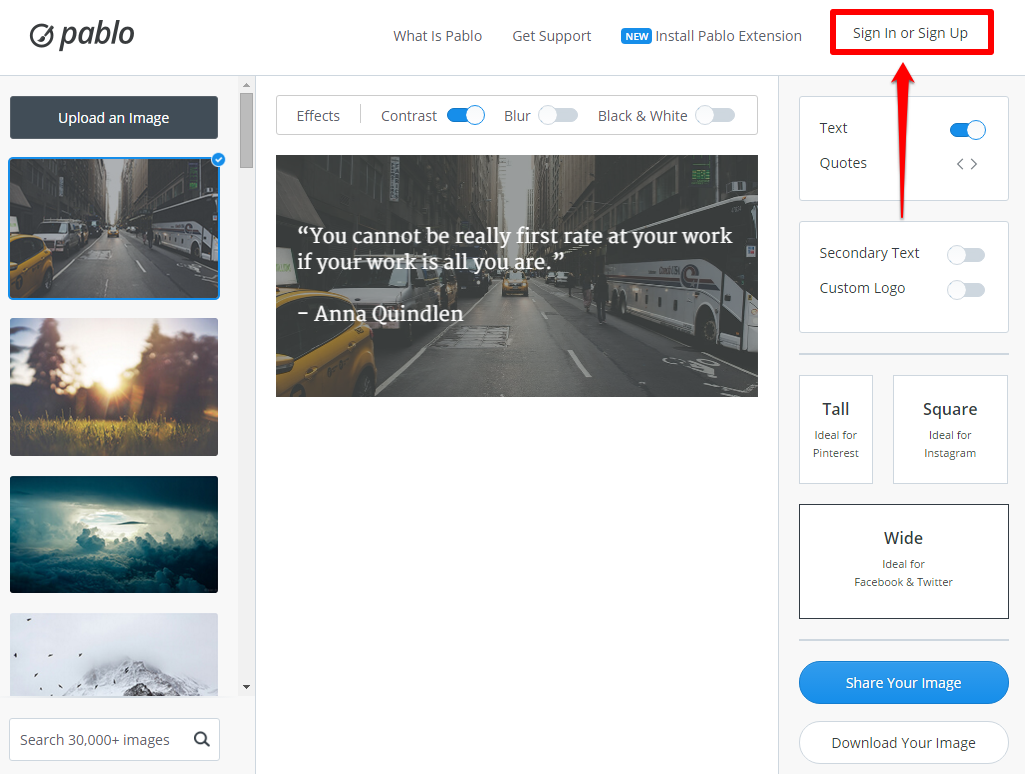
You don’t have to sign into a Buffer account to create an image in Pablo, but if you do it makes sharing your image much easier. Since I have a Buffer account, I’m going to sign in.
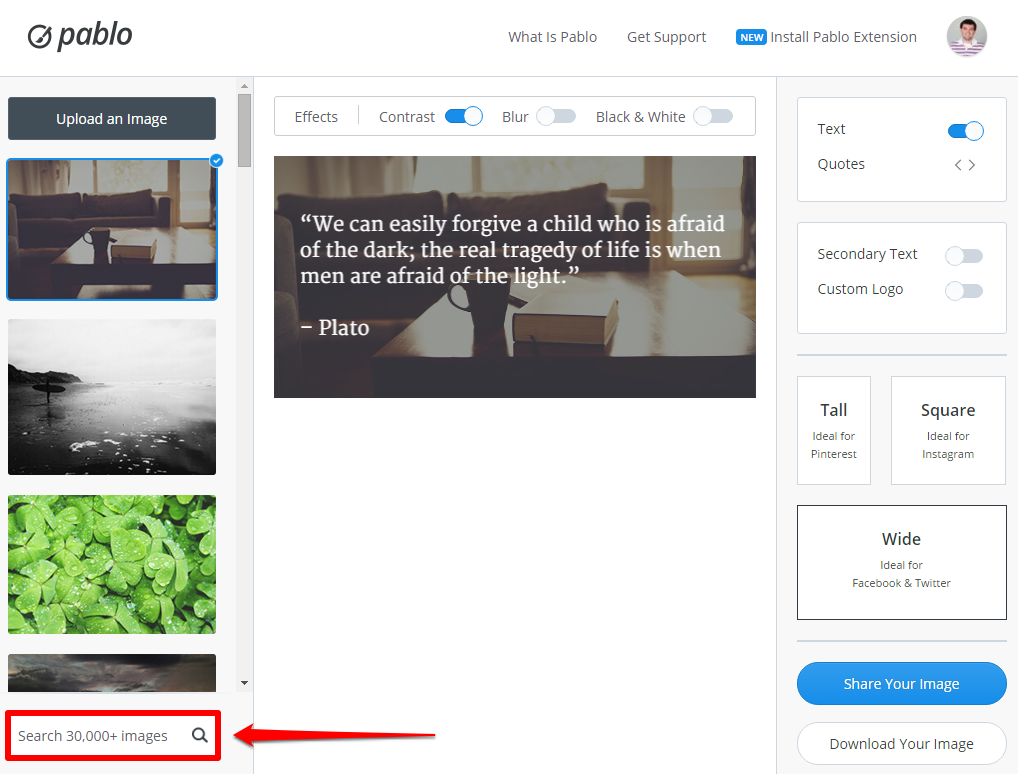
On the left I have a number of background options to scroll through:
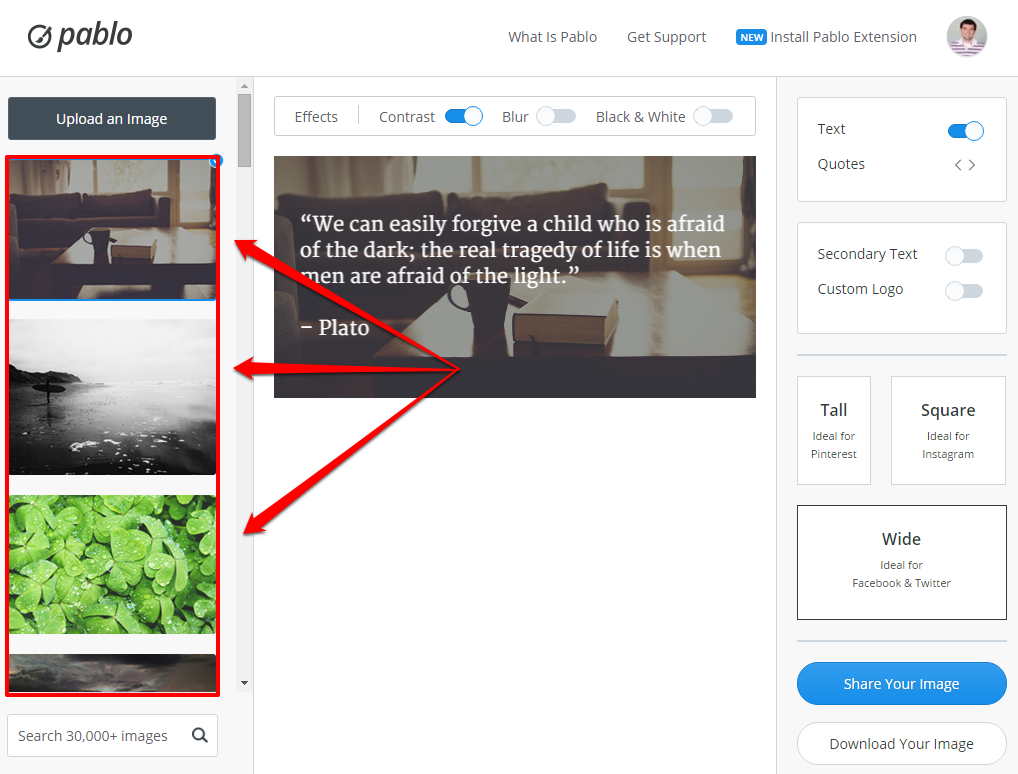
Or I can search by keyword within Pablo’s database of 30,000+ images!
This being Linkarati, I’m going to search links and go with this background image:
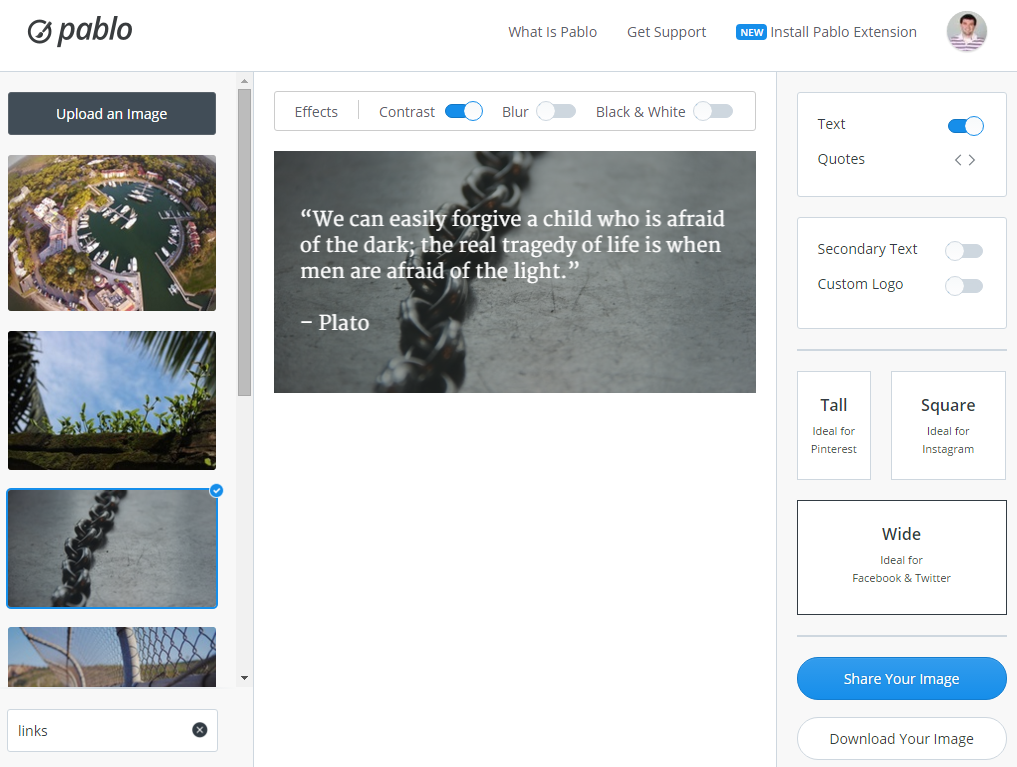
Now that I’ve chosen a background image, I can play around with the effects Pablo offers.
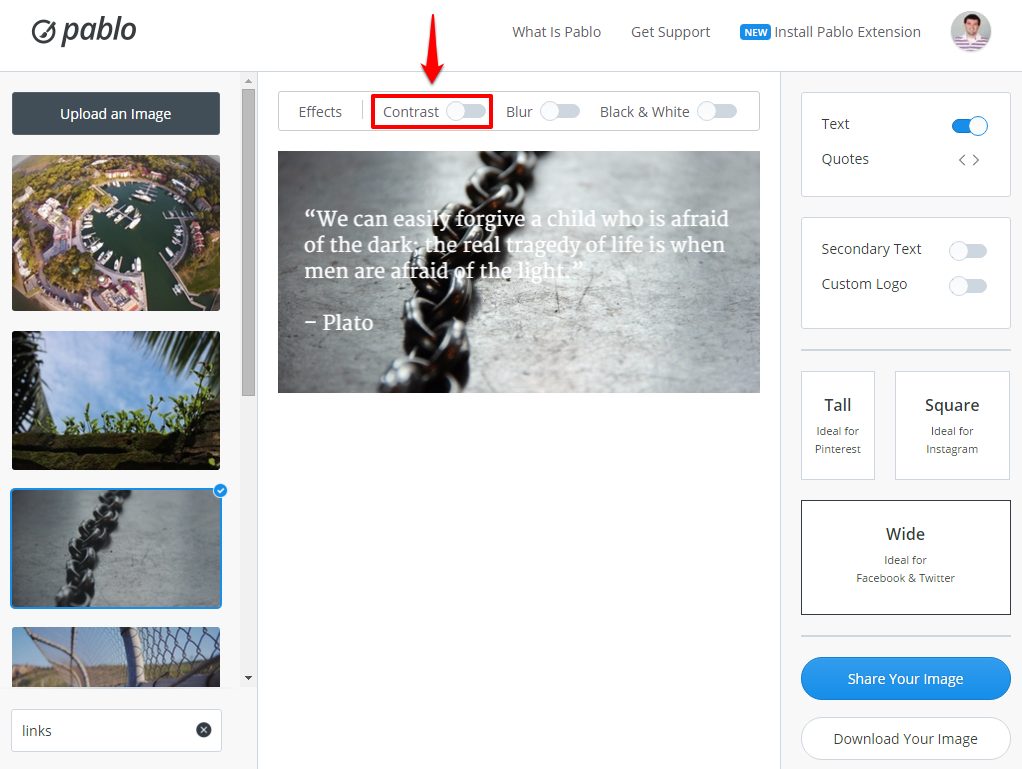
Such as removing contrast:
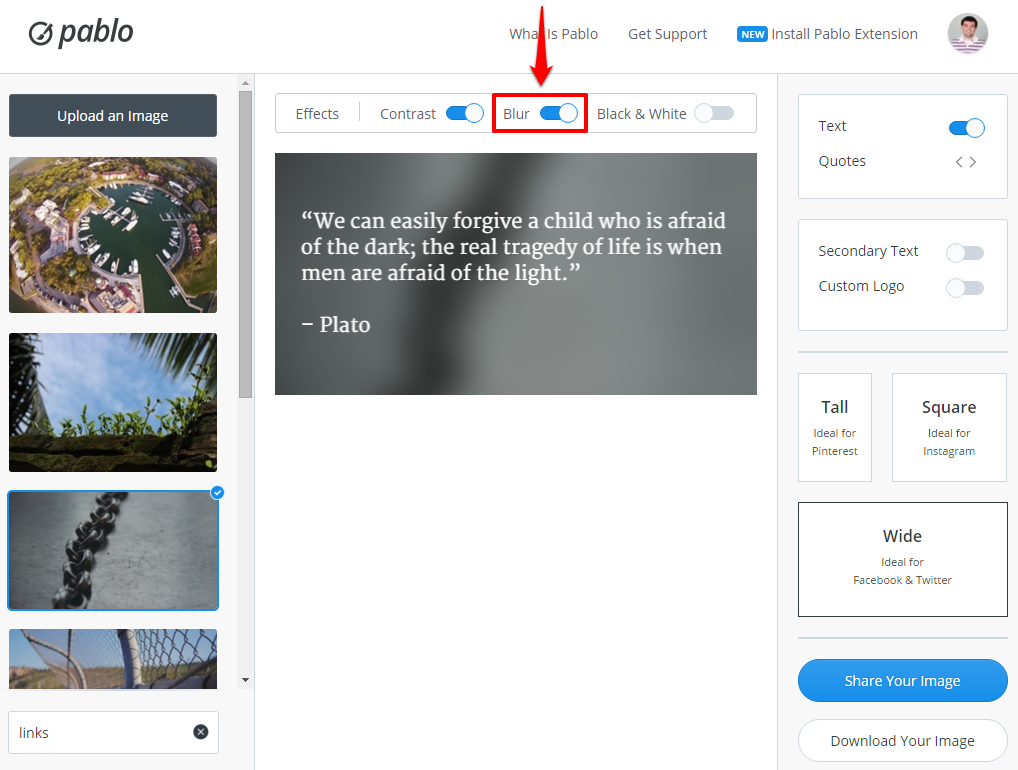
Adding blur:
Or making the image black and white:
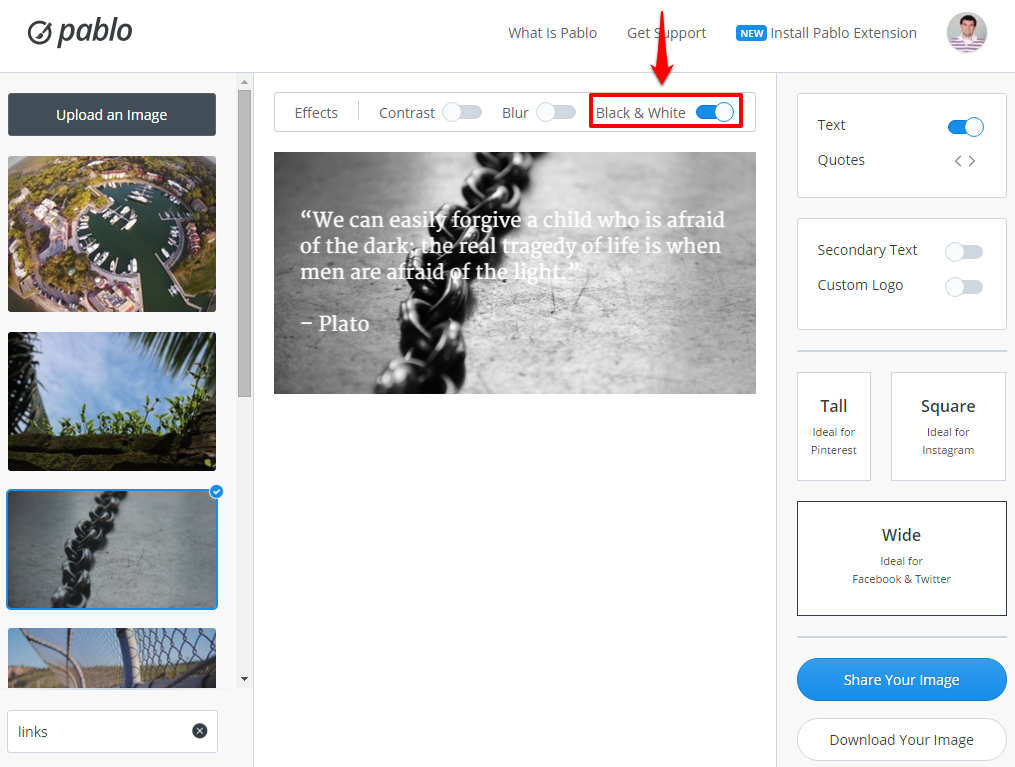
I like my image with contrast and no blurred or black and white filters. So next, I need to decide what kind of text I want on my image.
Pablo’s default text is always a quote.
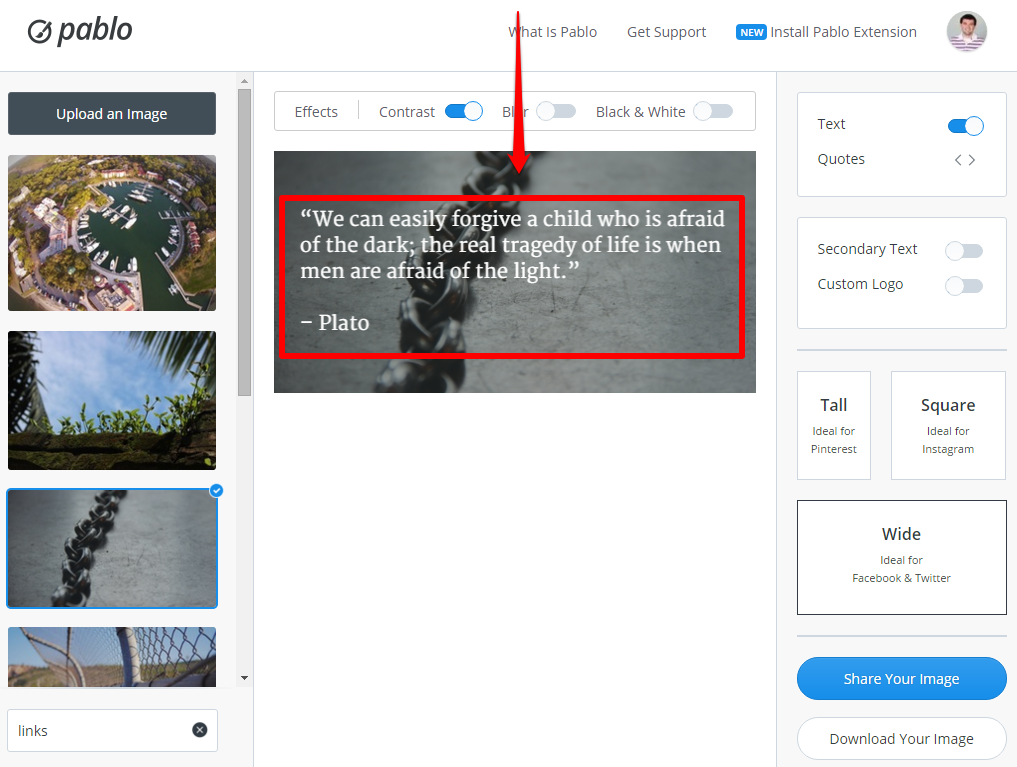
I can actually cycle through various famous quotes using the arrows on the right sidebar:
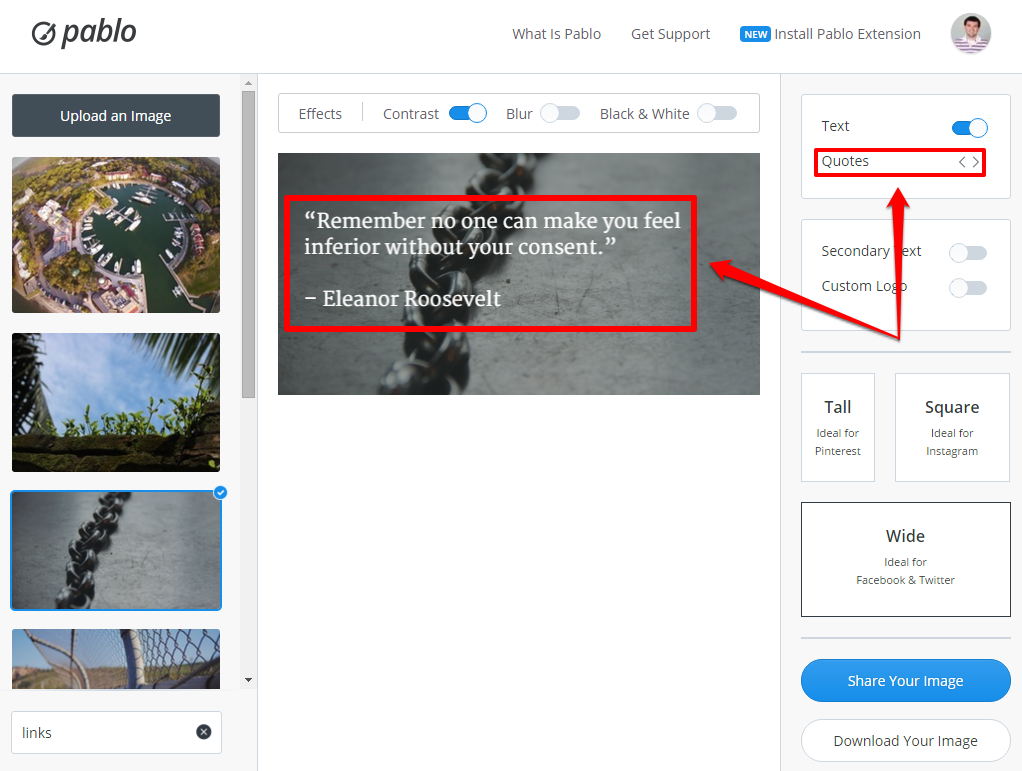
I can also remove text entirely with the switch above:
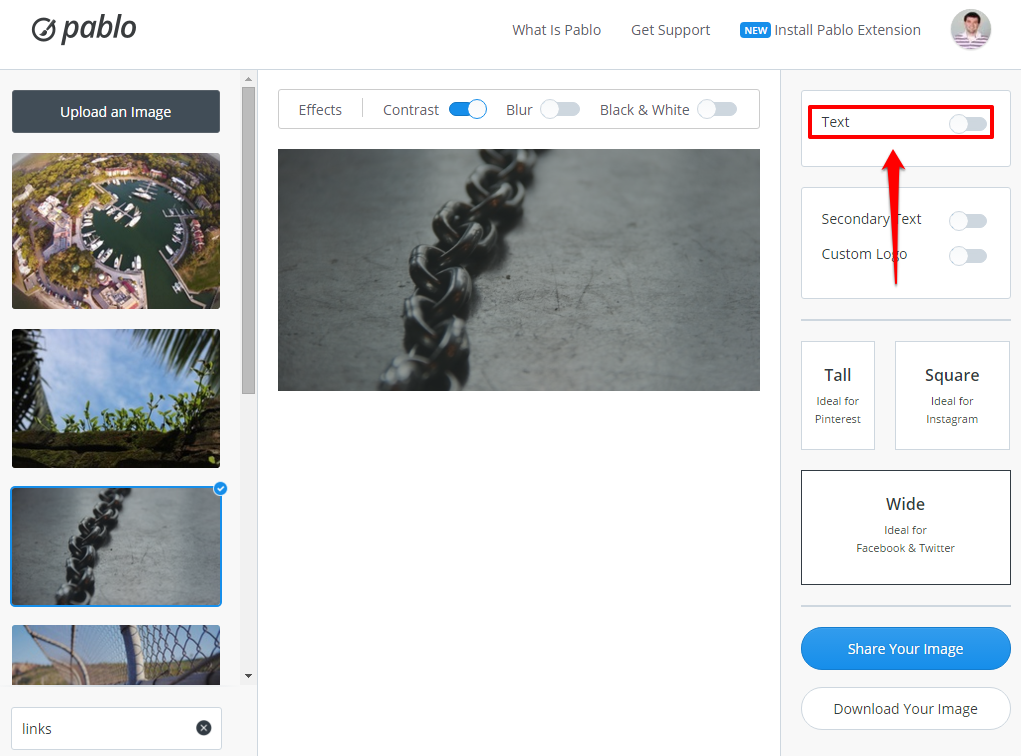
However, I would like to customize my text. I can do this by clicking on the text box in my image:
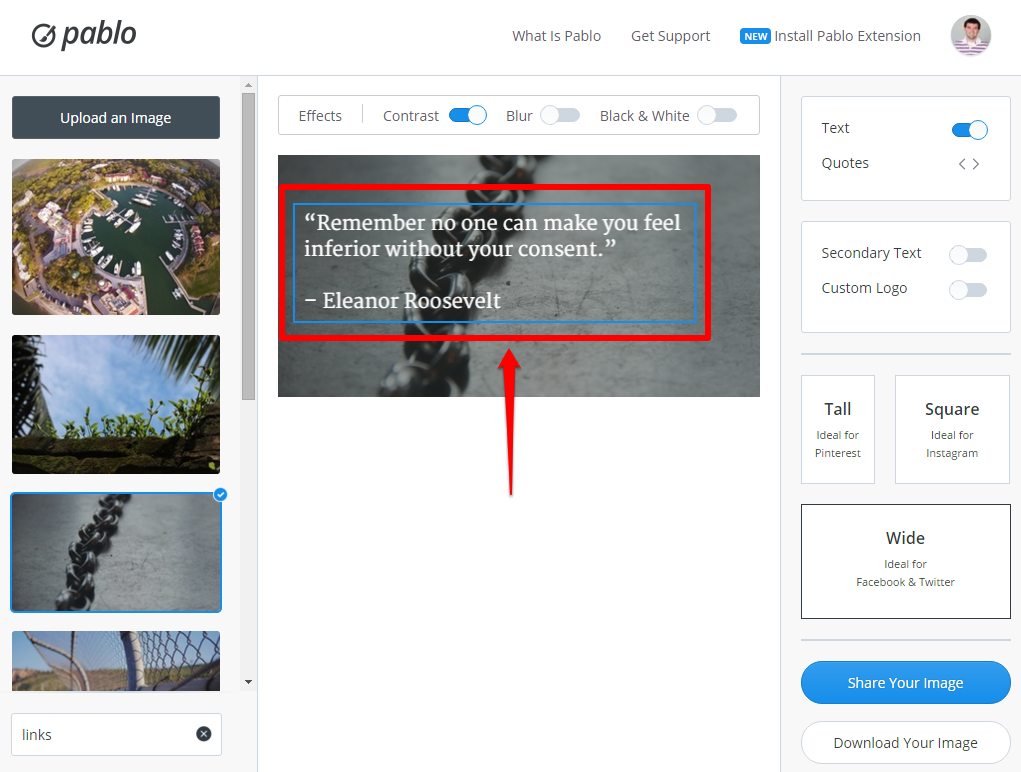
I’m going to go with a quote from one of the most influential link builders I know – Cory Collins.
Here is what my image looks like with Cory’s quote inserted:
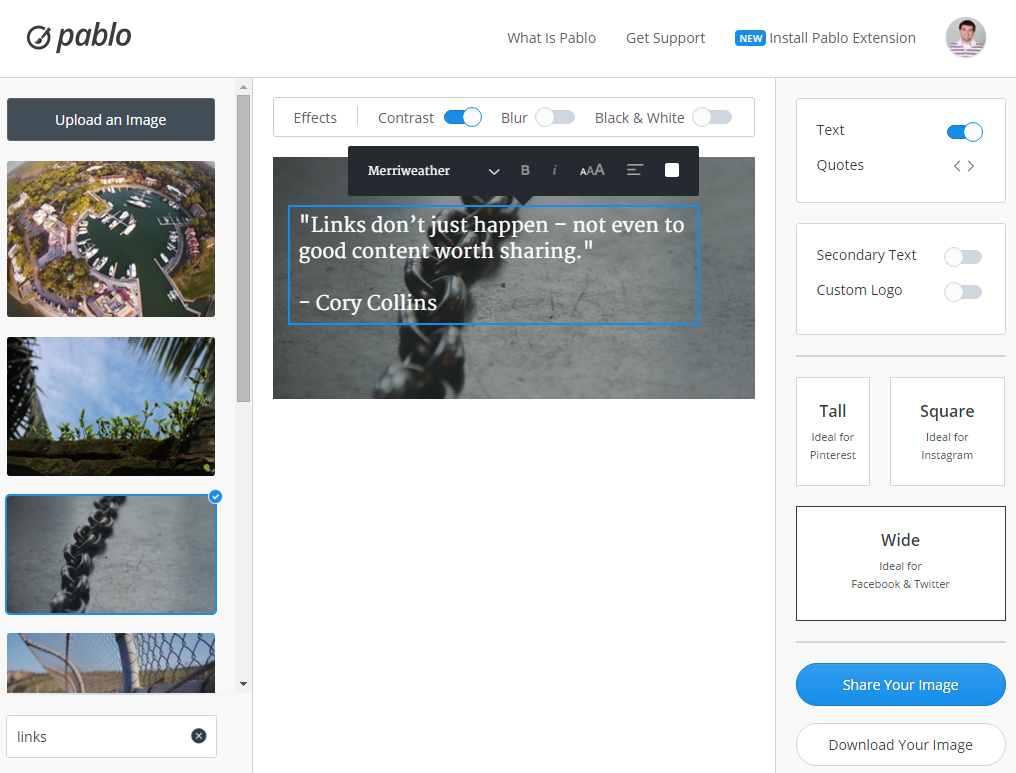
As you can see I also have some font options including:
- Font type
- Bolding
- Italicizing
- Font size
- Alignment
- And white or black coloring.
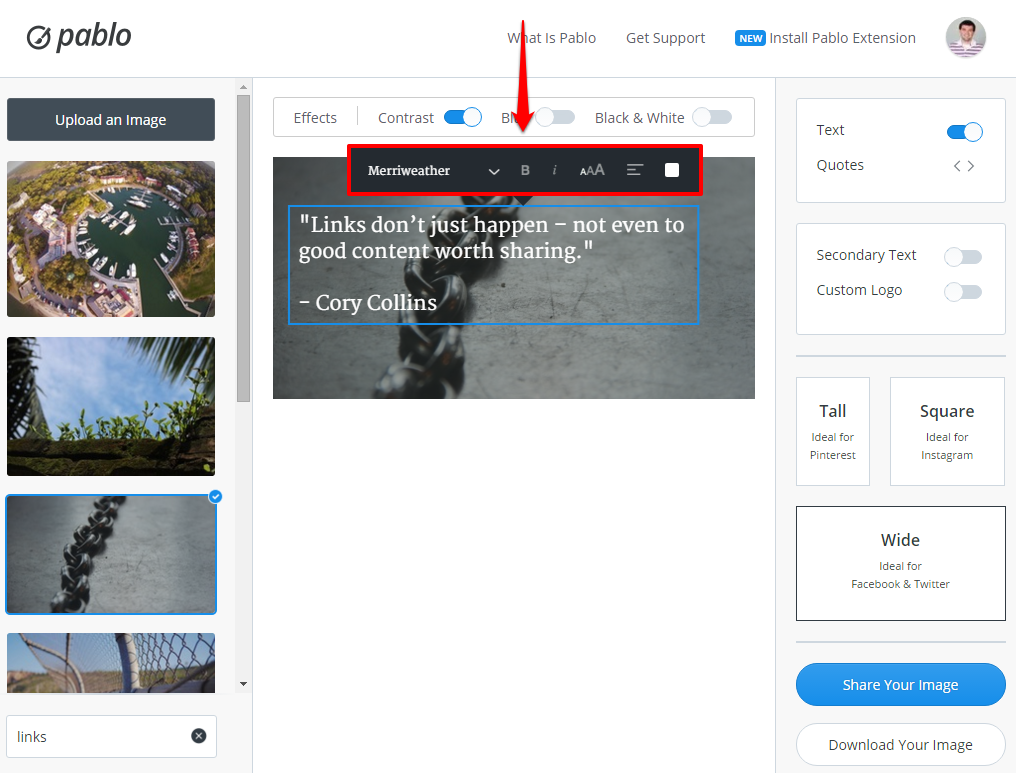
For this tutorial I’m going to stick with the default settings.
I also have the option of adding secondary text.
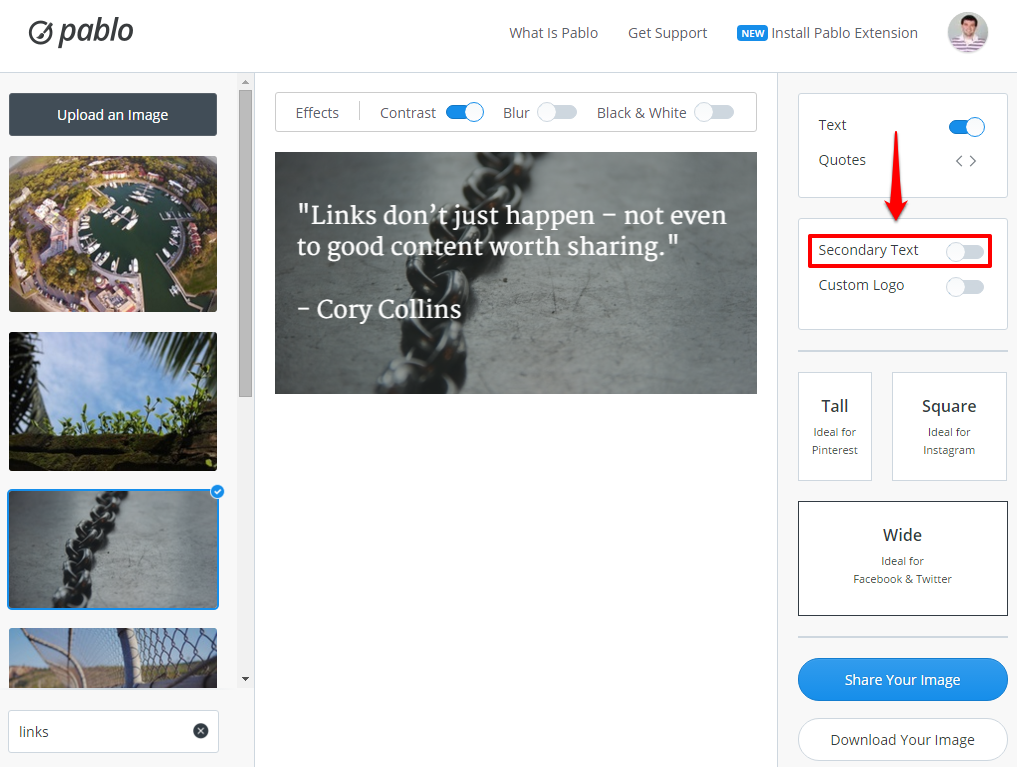
Here’s what my image looks like with secondary text added:
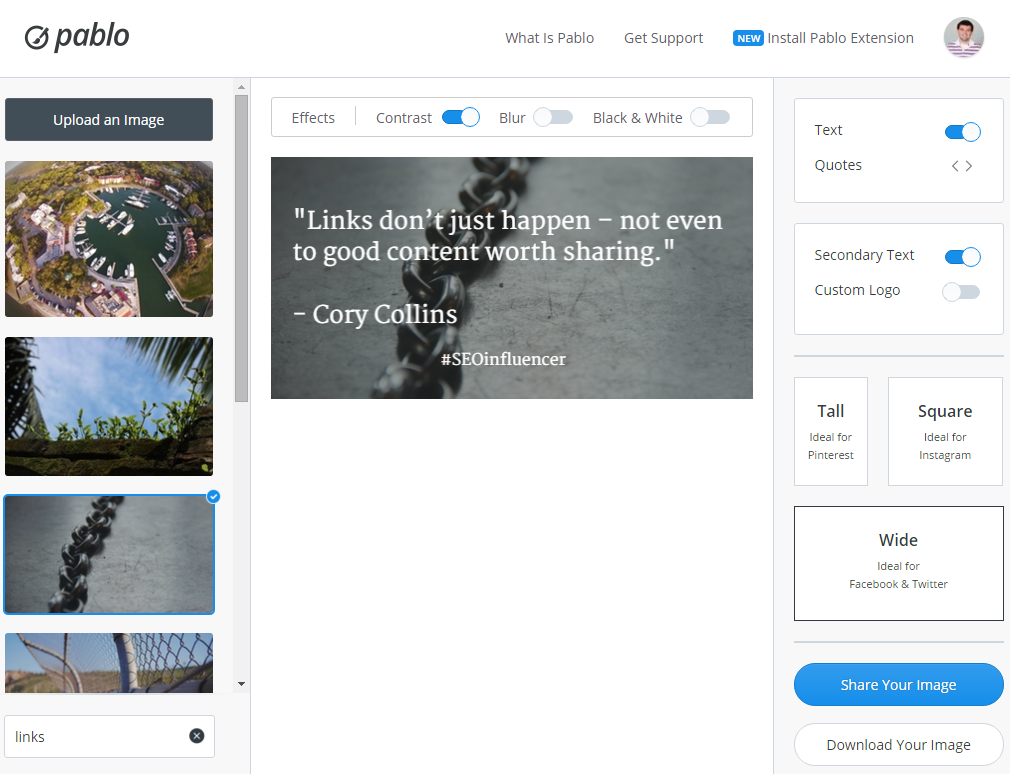
Finally, I have the option of adding a custom logo.
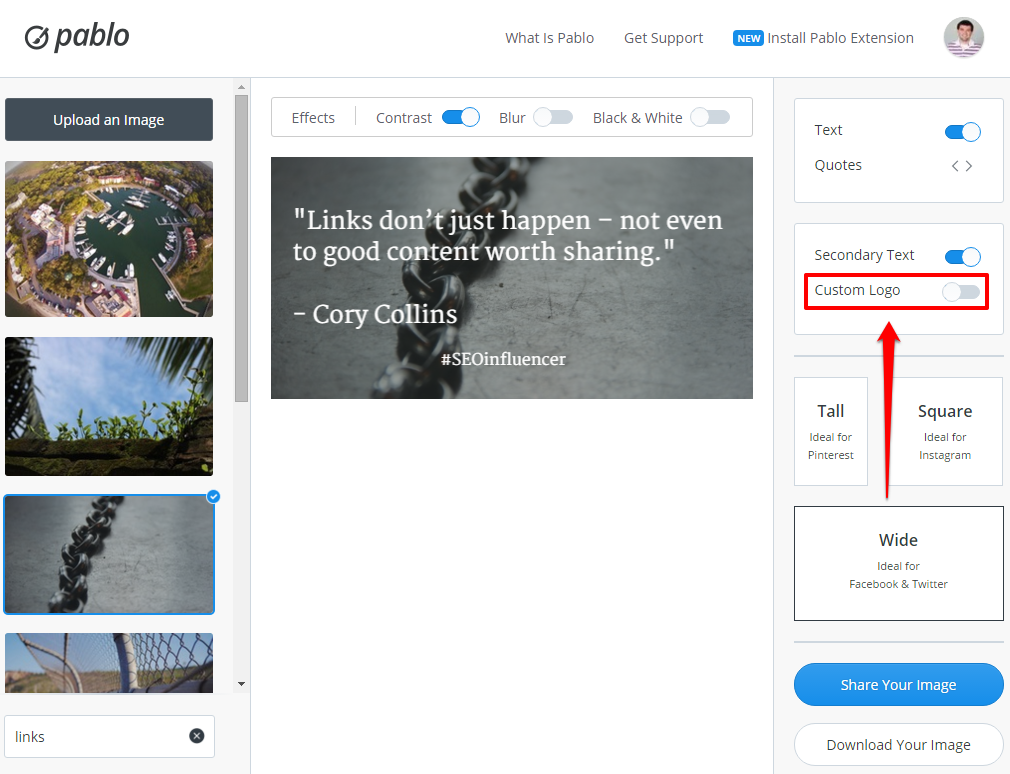
Here’s what it looks like with the Linkarati logo added:
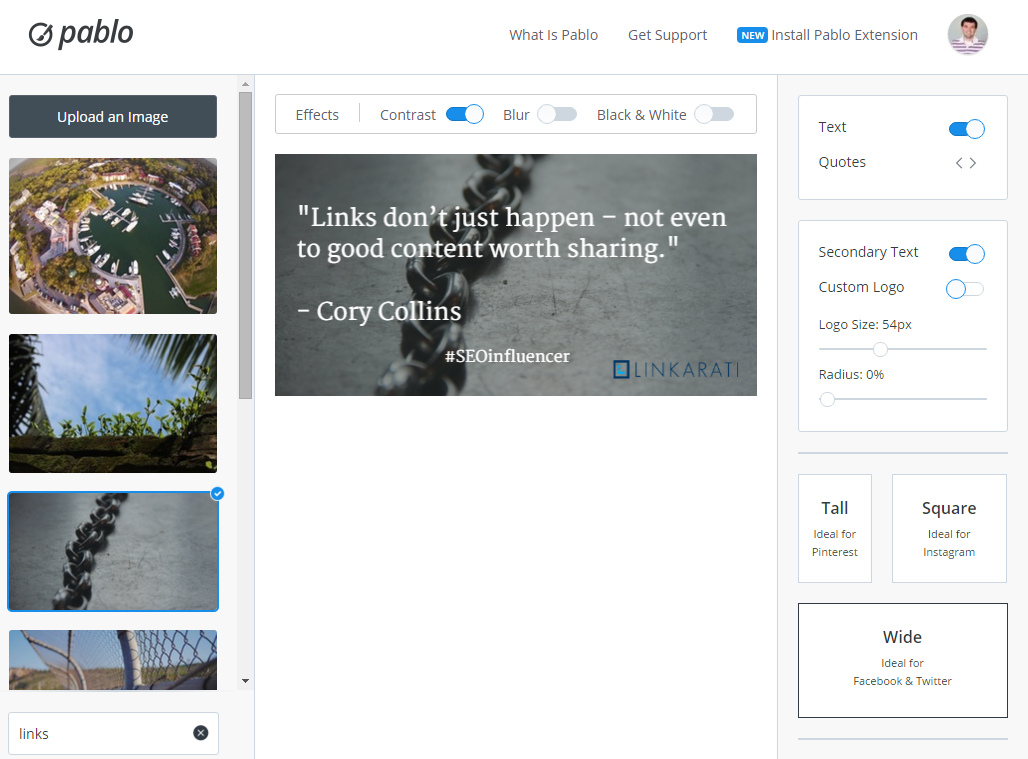
Now that I have this beautiful image, it’s time to share it on social media!
Step Two: Selecting the Ideal Size for Optimal Social Sharing
The first question is which platform do I want to share my image on?
Ideal image dimensions vary between the major social platforms. Certain dimensions may look great on Pinterest, but aren’t well-suited for Twitter. Fortunately, Pablo has you covered!
On the right sidebar you can find the ideal image sizes for Pinterest, Instagram, Twitter, and Facebook.
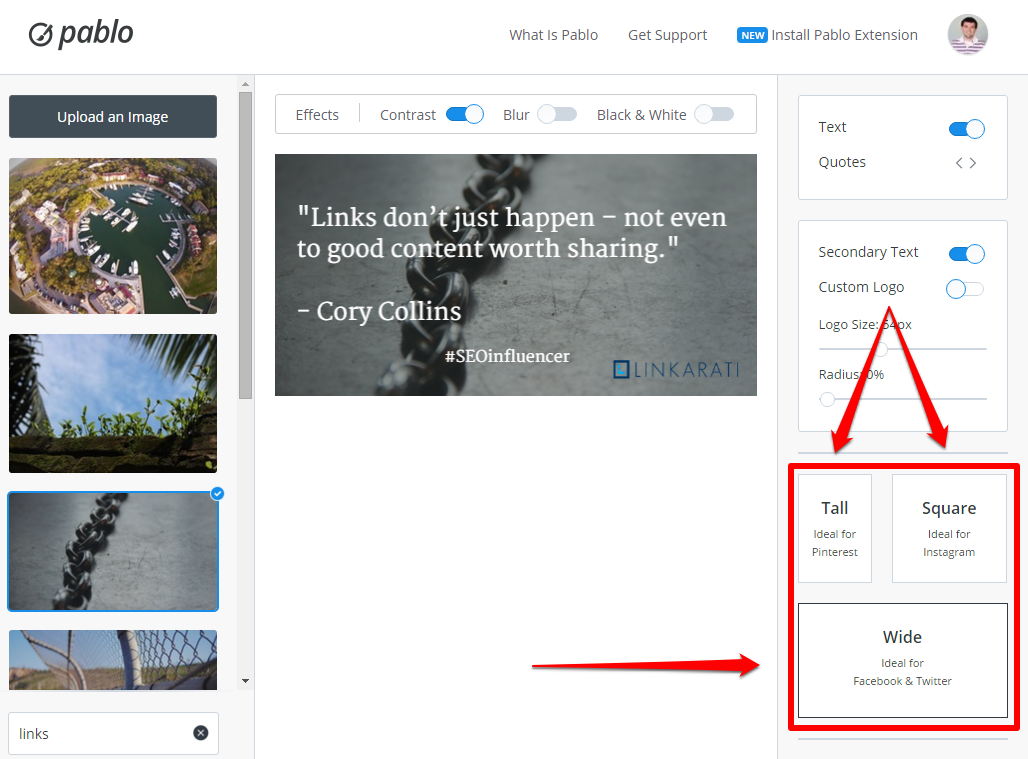
Pablo’s default setting is the “Wide” format which is ideal for Twitter. I’m a pretty big fan of Twitter, so we’ll stick with that.
Now all that’s left to do is share my beautiful image on Twitter. And of course Pablo makes that super easy too!
Below the sizing options are two options – “share your image” and “download your image”.
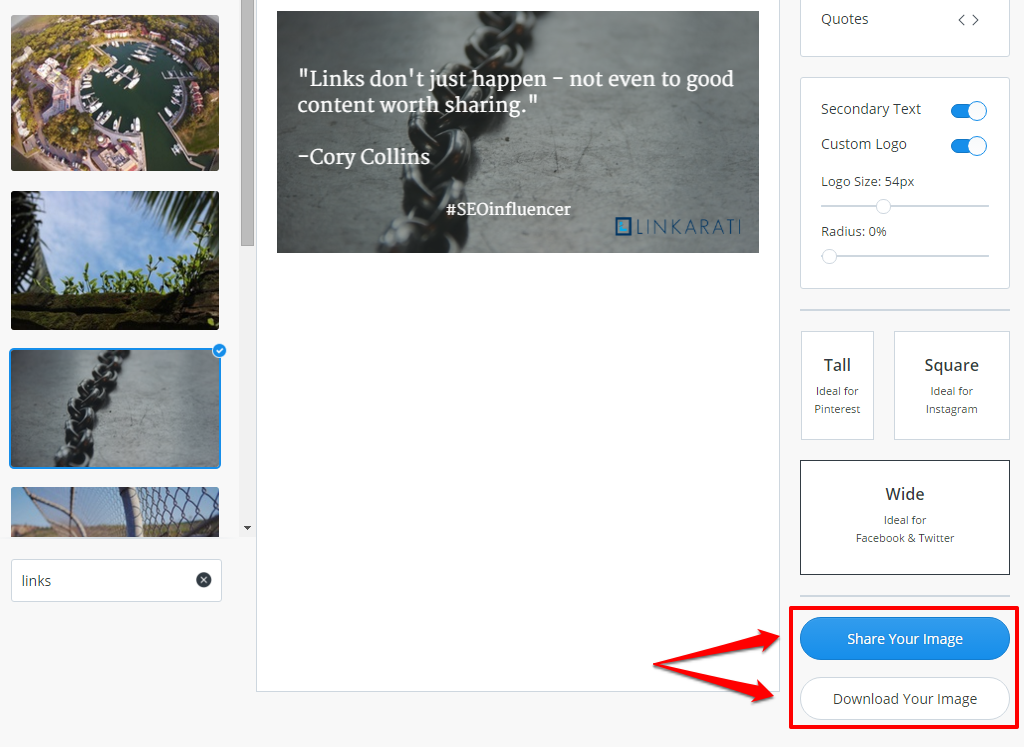
By clicking the share option you can immediately share your image to Twitter, Facebook, or Pinterest.
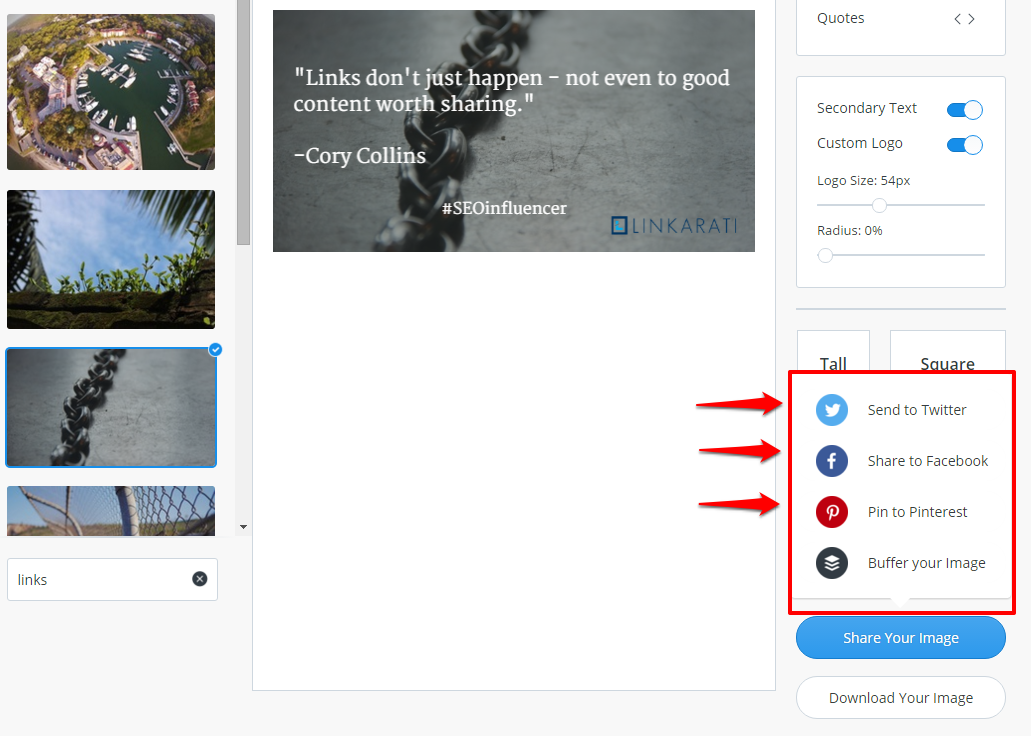
And if you’re signed into your Buffer account you have the option of scheduling your image through Buffer.
If you decide you simply want to save your image for a later date, you can choose to download your image.
Now that we’ve walked through how simple and easy it is to create shareable images in Pablo, let’s look at a couple of ways the Pablo Chrome extension can expedite things even more.
Step Three: Using the Pablo Chrome Extension
Start by visiting the Chrome store here to install the Pablo extension.
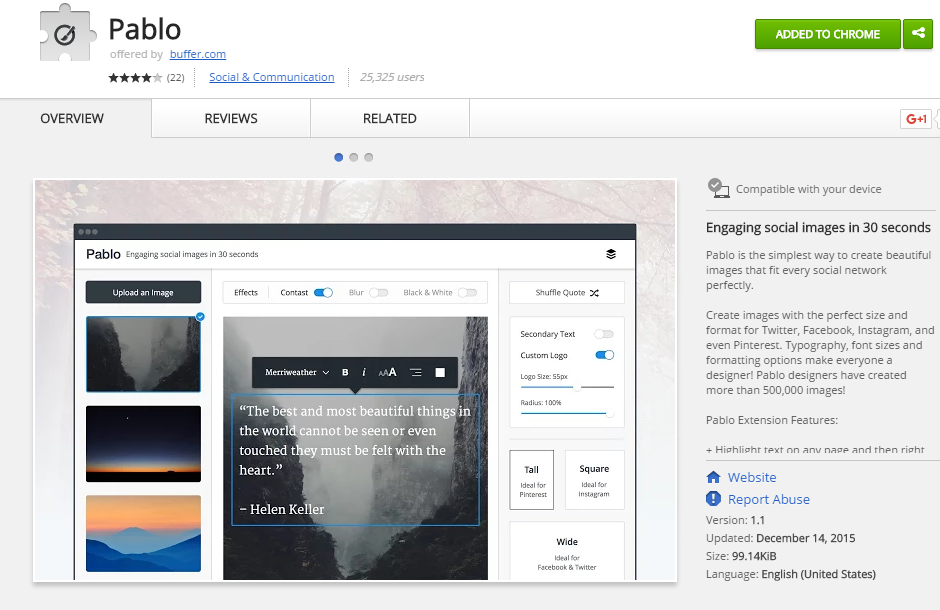
The Pablo extension offers three main functions:
- Easy access to Pablo
- Quick image exporting
- Simple text extraction
First off, the extension makes it easy to quickly access Pablo from your browser by clicking the extension icon:
![]()
But the really cool aspect of the Pablo extension is that it makes it super easy to grab images and text from the web and import them directly into Pablo.
To export images you have two options.
One option is to simply right-click on an image, which will bring up an option to “Open Image With Pablo”. Here is what it looks like when I right-click an image on the Linkarati homepage:
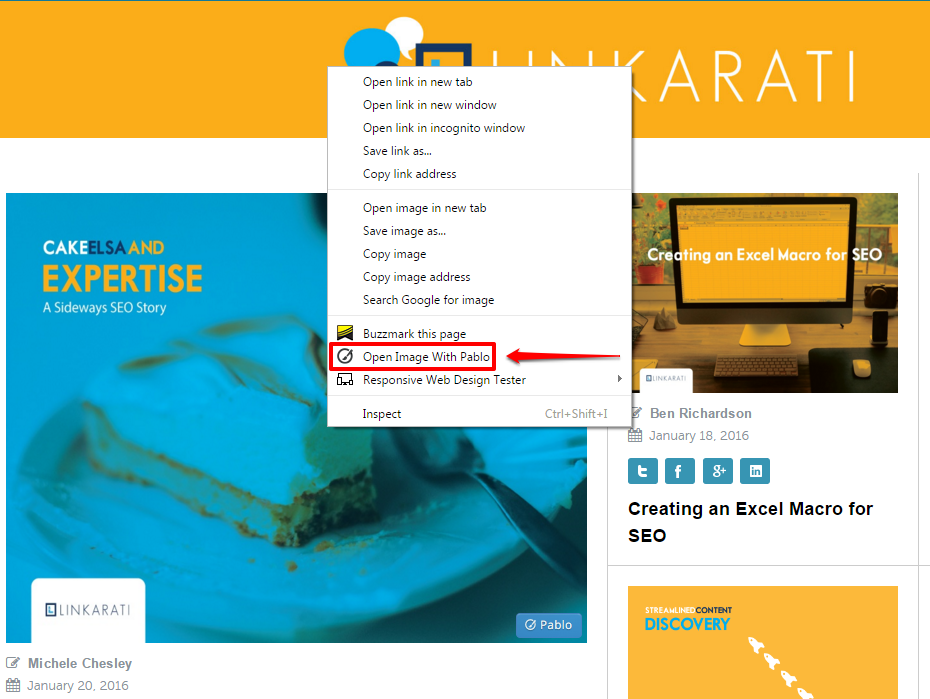
The other option is to click the small blue Pablo icon that appears in the bottom-right corner of the image when I hover over it:
![]()
Either of these options will allow you to open the selected image within Pablo for editing.
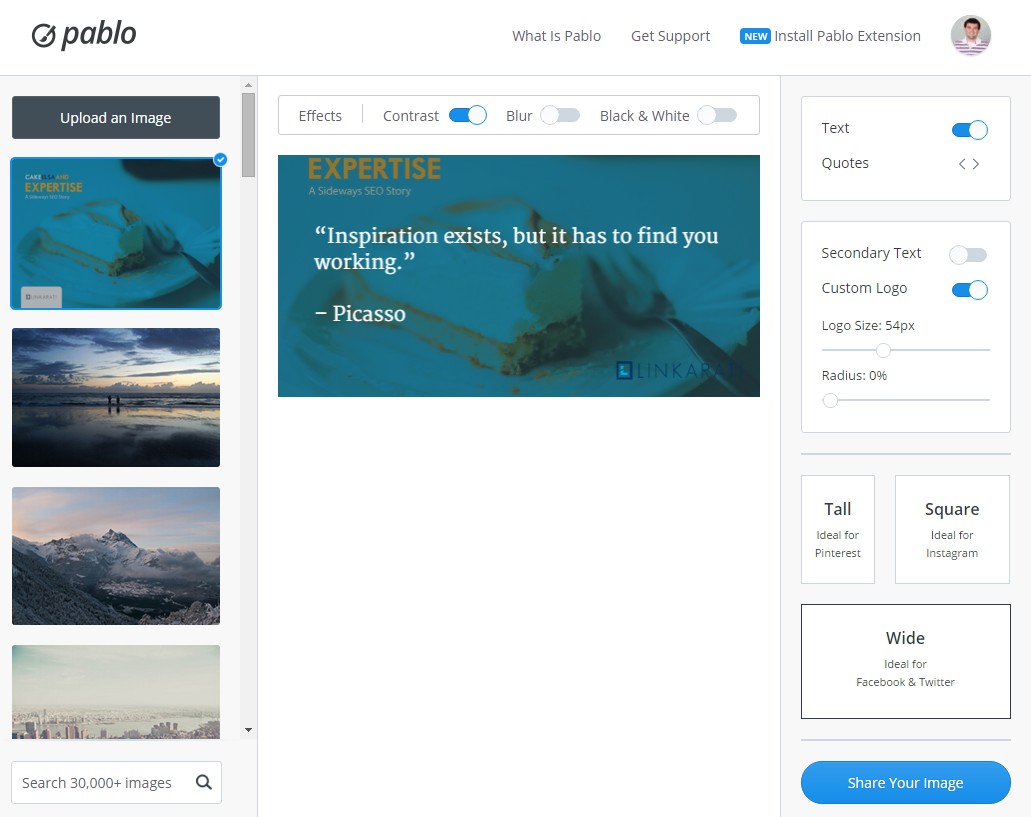
As you can see, depending on the size of the image you’re importing, Pablo may not be able to fit the entire image.
The Pablo extension also makes it easy to extract text from web pages and pull it into Pablo. This can be done by highlighting a section of text and right-clicking, which will bring up the option of “Pablo Selected Text”.
I’ll use Linkarati as an example again:
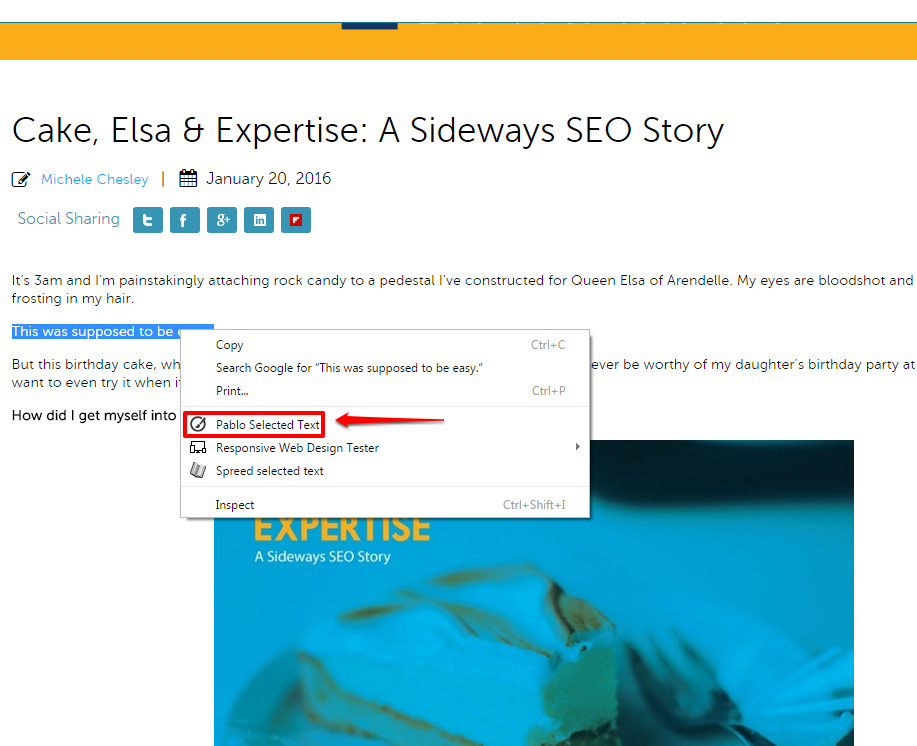
Clicking this option will pull the highlighted text into Pablo and place it on top of a default image:
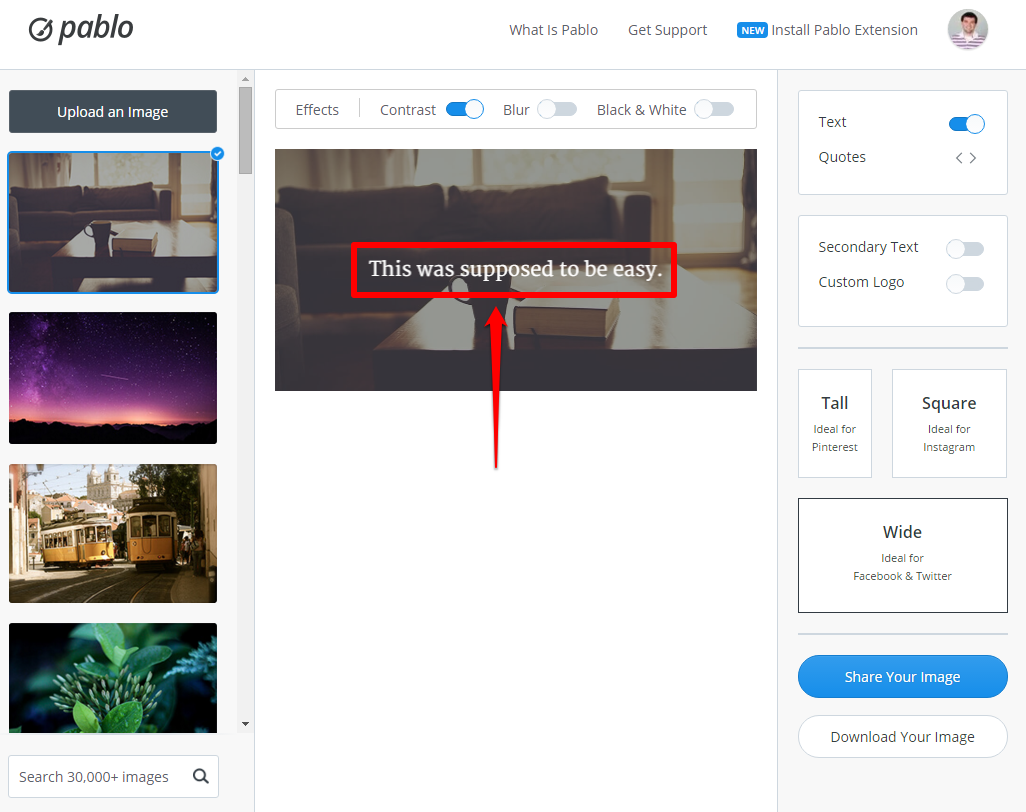
This function can be great for pulling out specific quotes from blog posts or articles you want to share on social, and creating a nice image with Pablo.
And that about covers Pablo 2.0! I applaud Buffer for updating the tool as much as they have, and for adding a very handy Chrome extension.
If you want to create quick and easy images that will up your social media game and drive engagement, you need to have Pablo in your toolkit.
