Hello and welcome to another Tutorial Tuesday! Each and every week we work hard to bring you a simple, easy to follow tutorial on an SEO or link building process, tactic, or strategy.
This week we’ll be focusing on creating a useful, functional outreach list for free with Google Docs.
Outreach is imperative to building real links, since real links come from real people with websites that matter. In order to build the links you deserve, you’ll have to find every potential link opportunity, reach out to the people behind the websites, and explain your value to those people persuasively.
And if I’ve learned one thing from my time building links it’s that effective outreach initiatives require much coordination and organization, regardless of whether you’re working with a team of fifteen or even independently.
But why Google Docs? Well, Gdocs:
- Is free
- Accessible online by anyone you choose to share the document with
- Updates in real time (important for outreach)
- Has strong functionality
- Is similar to Excel
- Etc.
Basically, Google Documents is the best free option you have when it comes to outreach lists. There are paid programs worth considering as well should you be looking to invest and upgrade:
So, let’s jump into it.
Part One: Creating A Google Doc
In order to create a Google Doc you have to have a Google account. If by some small miracle you've avoided creating a Google account in this day and age you’ll have to create one now.
My recommendation is to create a Gmail, as it’s always handy to have a spare email.
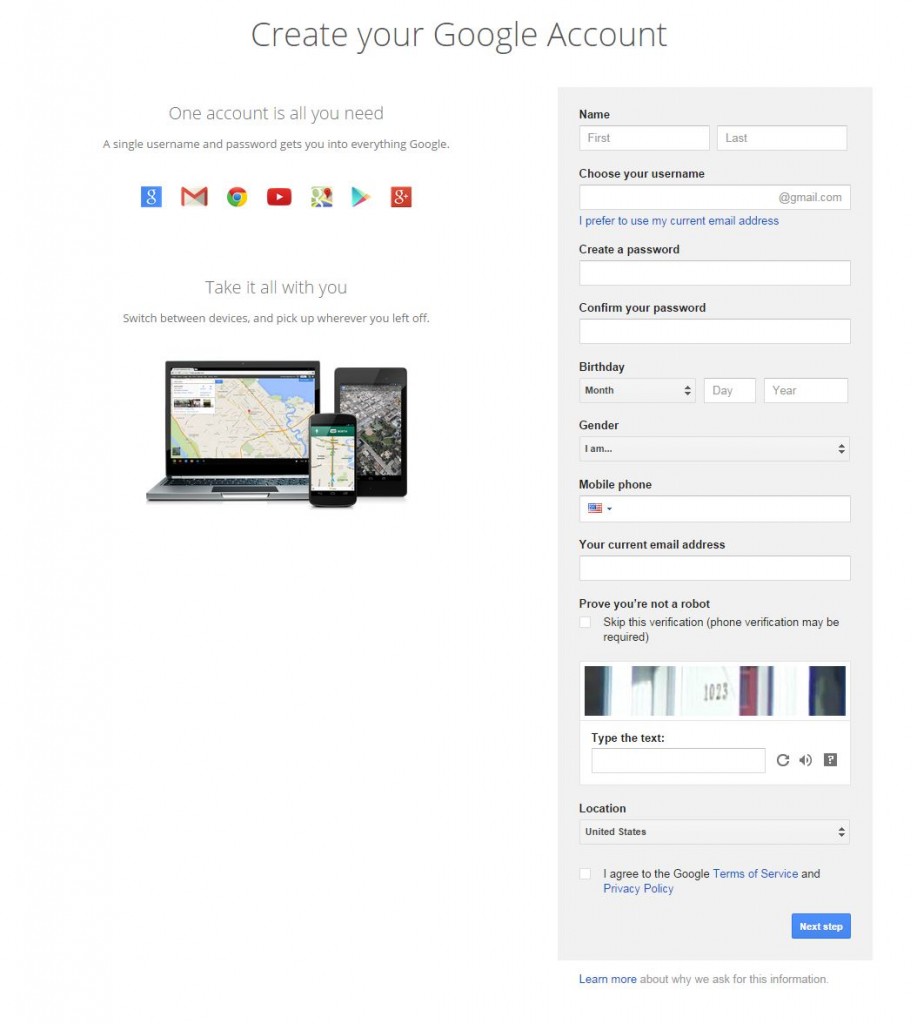
Step One: Creating a Google account
Click “Create an account” and fill out the form:
Step Two: Opening Google Drive
Once you've created a Google account simply navigate over to your Google Drive, which you’ll automatically have with any Google account.
If you’re in your Gmail account you can click the App icon in the top right corner and select Drive.
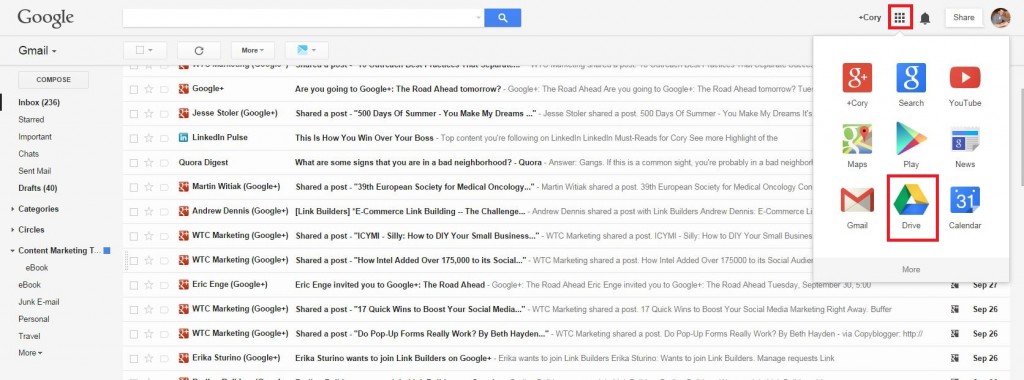
You’ll be in your Google Drive, which will have any documents you’ve previously created or had shared with your account.
Step Three: Creating a New Spreadsheet
Simply click the Create button and you’ll be prompted which type of document. For an outreach list, we’ll want to choose a Spreadsheet.
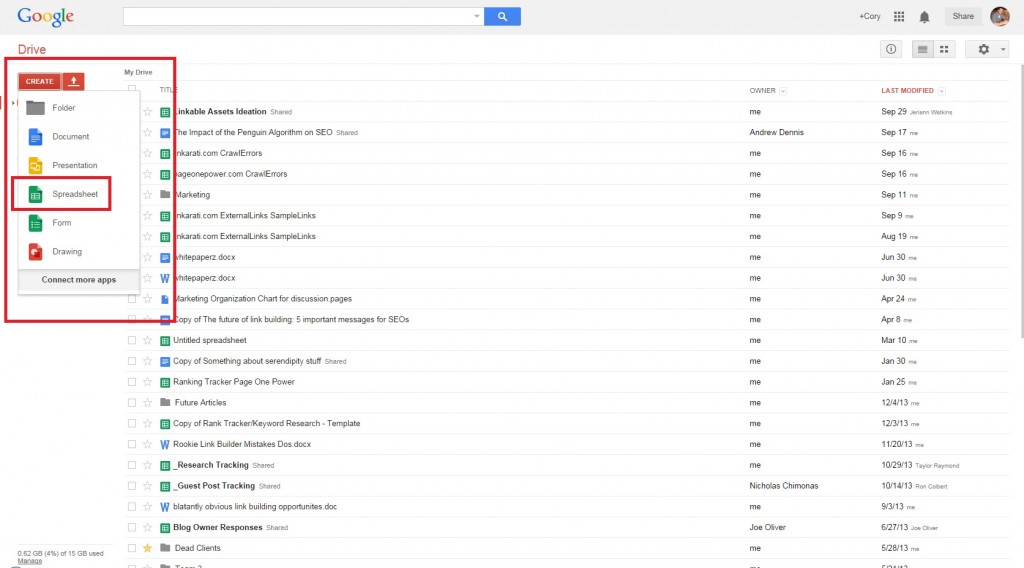
Voila! Success! You've now created a Google Document that will be home to your outreach list.
Part Two: Determining Relevant Information
You've created a Google Document. Now you’re ready to modify the document to suit your needs. First, however, you’ll need to determine what your actual needs are.
In this case we’re preparing for an outreach initiative. That means we’ll be attempting to find relevant link opportunities, creating a list of people worth outreaching to, and tracking those outreach attempts – all in one document.
Every outreach list will be slightly different based upon the opportunity, tactic, website, relationship, etc. However, all will have a few similarities:
- The URL of the page (link prospect)
- The name of the contact
- The contact’s email
- The date contacted
- Response
- Notes
That should cover the more important details. Additionally you could and might very well want to include more, depending upon your reason for outreaching. For example, you might include:
- Relationship
- Social Media profile(s)
- Reason for contacting (tactic)
- Domain Authority
- Page Authority
- Link secured
- Etc.
Let’s start with the basic outreach list.
Part Three: Customizing the Google Doc
Now that we’ve determined what information we want to track within our outreach list it’s time to set up the doc for actual use.
Step one: rename the document appropriately
The first step is to make sure we’ve named our document appropriately so we can organize it within our drive.
You’ll see “Untitled spreadsheet” in the top left corner.
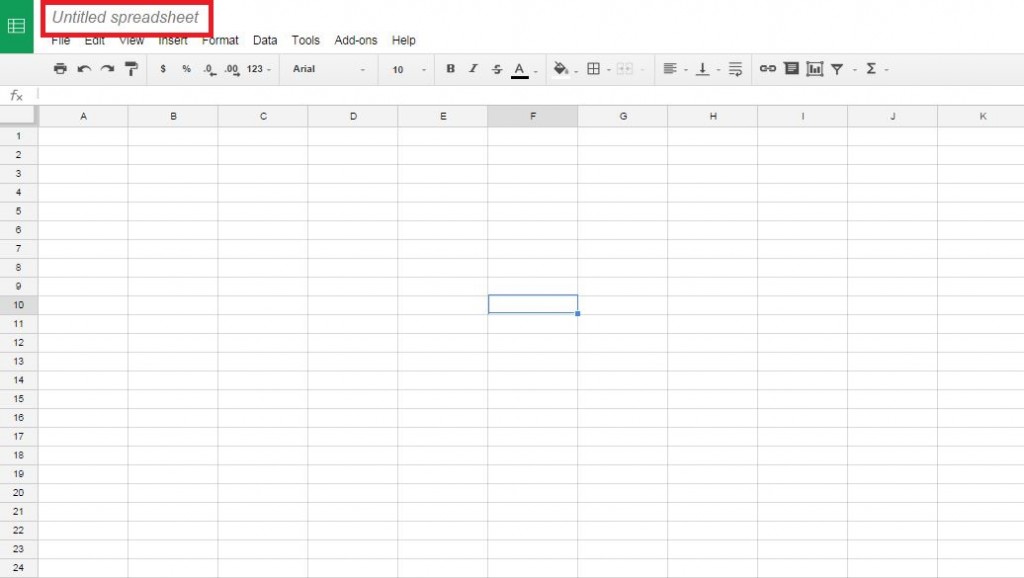
Simply click that and a box will open up allowing you to name (or rename) the document.
Step Two: Add Headers, Bold, and Freeze
Now that the document has been named it’s time to fully customize the document.
First, add your headers in the order you want to track the information.
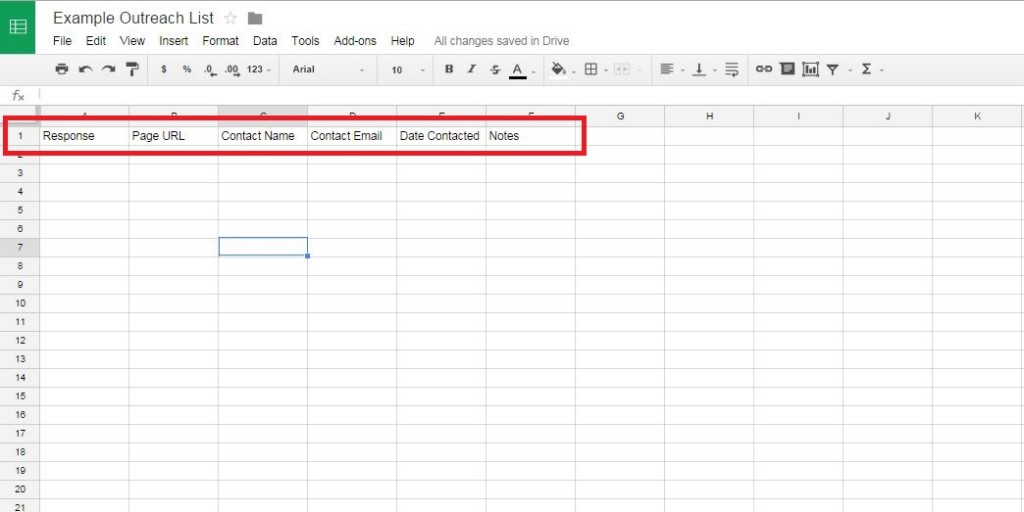
In this case we have response first, so that we see whether or not we received a positive response immediately.
Next expand the columns appropriately, add color, and bold.

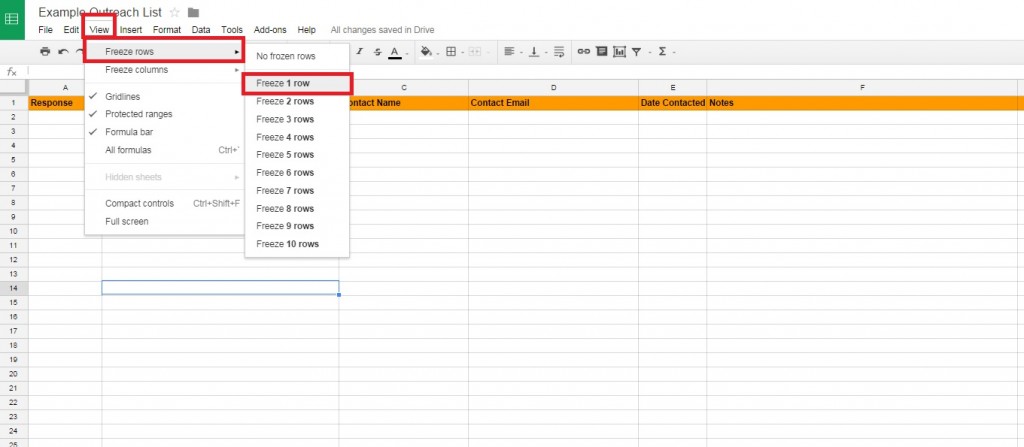
Finally, freeze row one so the relevant information remains at the top.
Now you’re ready to share the document to any interesting/engaged parties and start adding opportunities.
Part Four: Sharing the Document
There are two ways to share the document:
- Add the person’s email address to the shared list
- Make the post available to anyone with the URL, and then share the link
Let’s cover both.
Step One A: Add the person’s email to the shared list.
In the top menu you’ll click File and then Share, which is the first option.
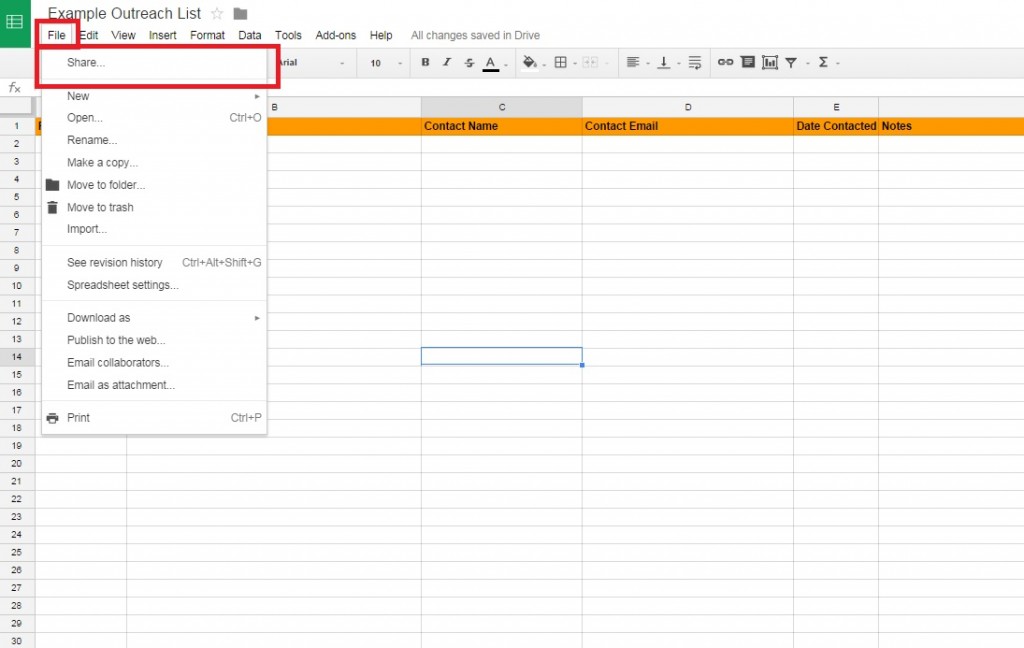
Clicking share will pop open a separate box which will allow you to add emails you’d like to share the document with.
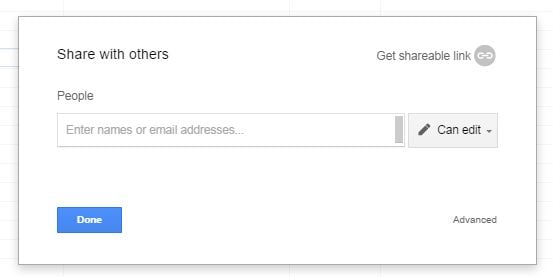
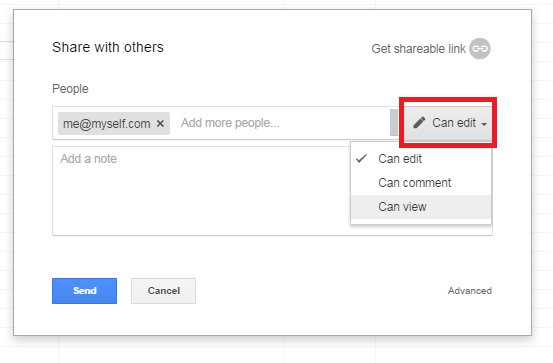
This syncs with your Gmail contact list. Simply start typing the name of your contact and it should pop up their email. Or, of course, just input the email directly.
Note as well the box on the left, which currently says “Can edit.” If you’d like to share the doc but not grant editorial privileges, simply switch to either “can comment” or “can view.”
Sharing the document this way makes the most sense for others who commonly use their Google account and particularly Google Drive, since this document will now show up in their Google Drive.
Step One B: Share the document with a link
If you want to make it easier to access the document, especially if the other party doesn’t commonly use a Gmail account or Google Drive, sharing the document via link makes the most sense.
Simply click “Get a shareable link” in the top right hand corner.
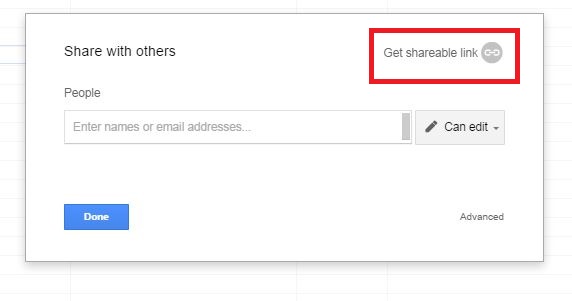
This will immediately make it possible for anyone with link to view your document.
If you want to grant further access, simply switch it to either “can edit” or “can comment.”
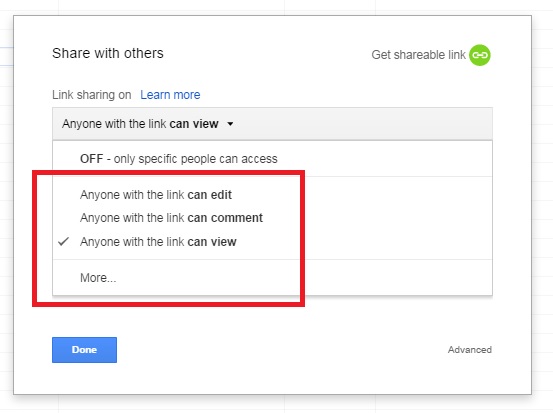
And simple as that, anyone can access and edit (or comment) your document.
Part Five: Adding Link Opportunities
I strongly recommend you build this list before you begin looking for link opportunities.
This outreach list will serve as a project/tactic database for all your relevant link opportunities. As you find them simply add the information into the outreach list.
This will allow you to track link opportunities and progress for free. You’ll be able to organize all relevant information and share it in real time, as progress happens. Multiple people can work out of the same document without crossing any wires (sending outreach to the same person).
Although all we've included thus far is basic information, we’ll be able to see in this outreach list:
- Whether we've secured a link
- Who we've contacted, and when
- If we’re following up in the appropriate amount of time
- Which pages/URLs we believe to be viable link opportunities
- Any notes concerning our outreach.
Pretty powerful, for the price of free.
So as you find link opportunities, you’ll add them to this outreach list. Then as you outreach, you’ll continue to fill out the appropriate information.
As your project advances your doc should look similar to this:
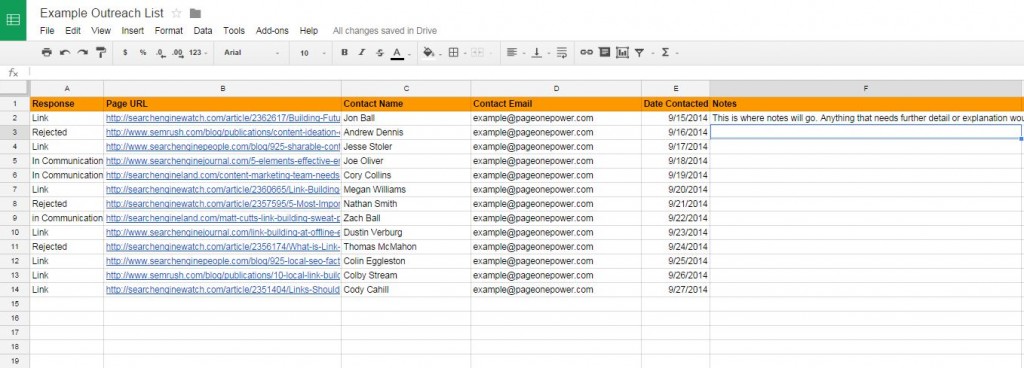
And that, in a nutshell, is how to use Google Docs to create a link building outreach list.